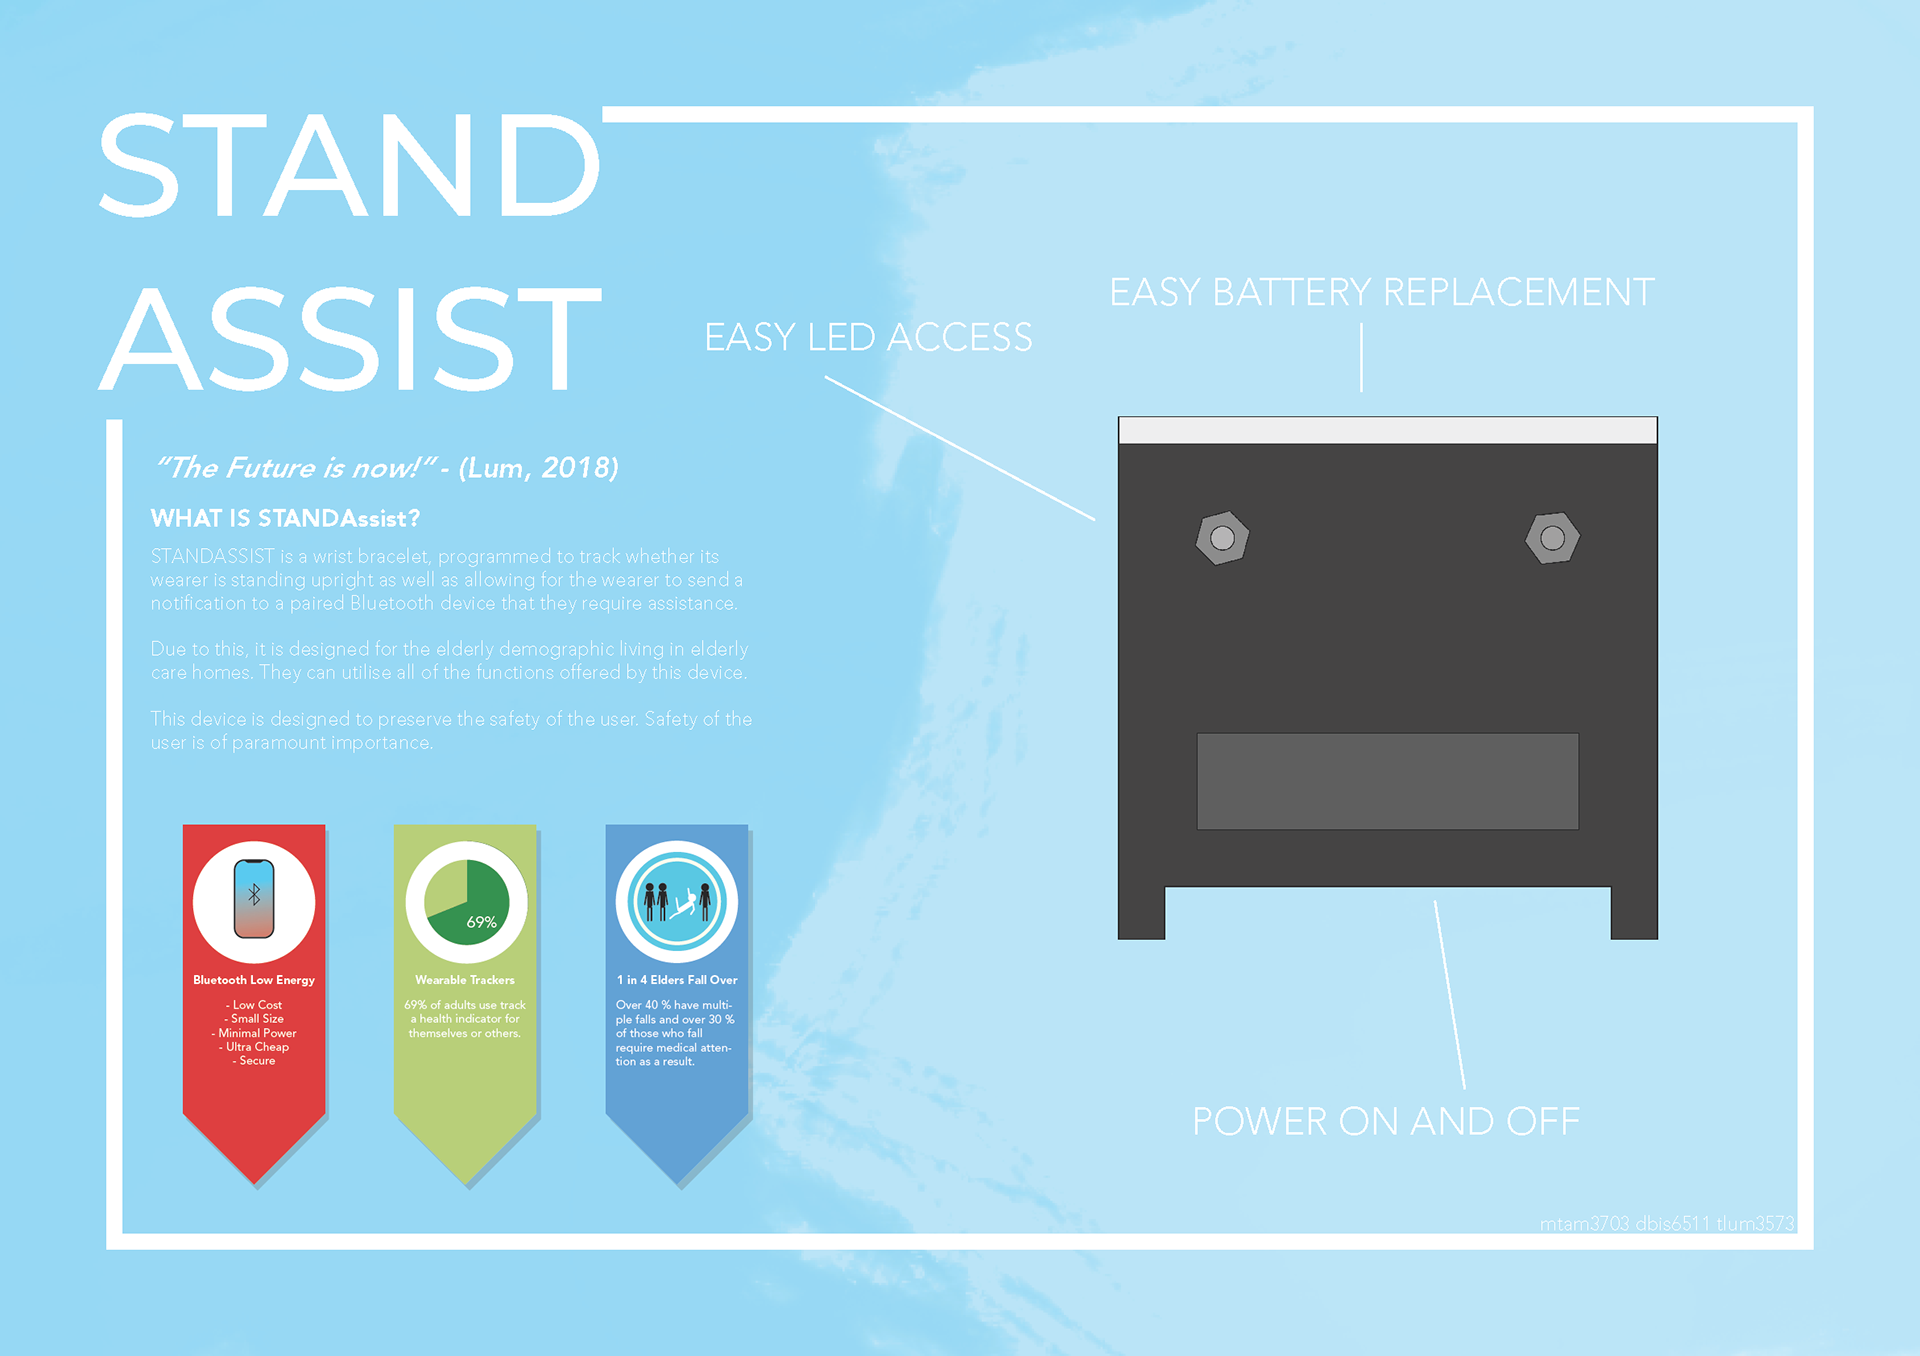
Project Overview
Time Frame: 13 Weeks
Team Members: Daniel Bismire, Toneya Lum
Tools: 3DSMax, Unity, Rhino 6, Adobe Illustrator, Adobe InDesign, Arduino IDE, Processing 3
Team Members: Daniel Bismire, Toneya Lum
Tools: 3DSMax, Unity, Rhino 6, Adobe Illustrator, Adobe InDesign, Arduino IDE, Processing 3
My Role: Conducting User Testing, and programming the Arduino Uno
Project Requirements
To develop a concept of a motion activated device and create a high-fidelity prototype utilising both a 3D modelling and laser-cutting techniques. The device must be powered with an Arduino Uno chip, and utilise either the on-board accelerometer.
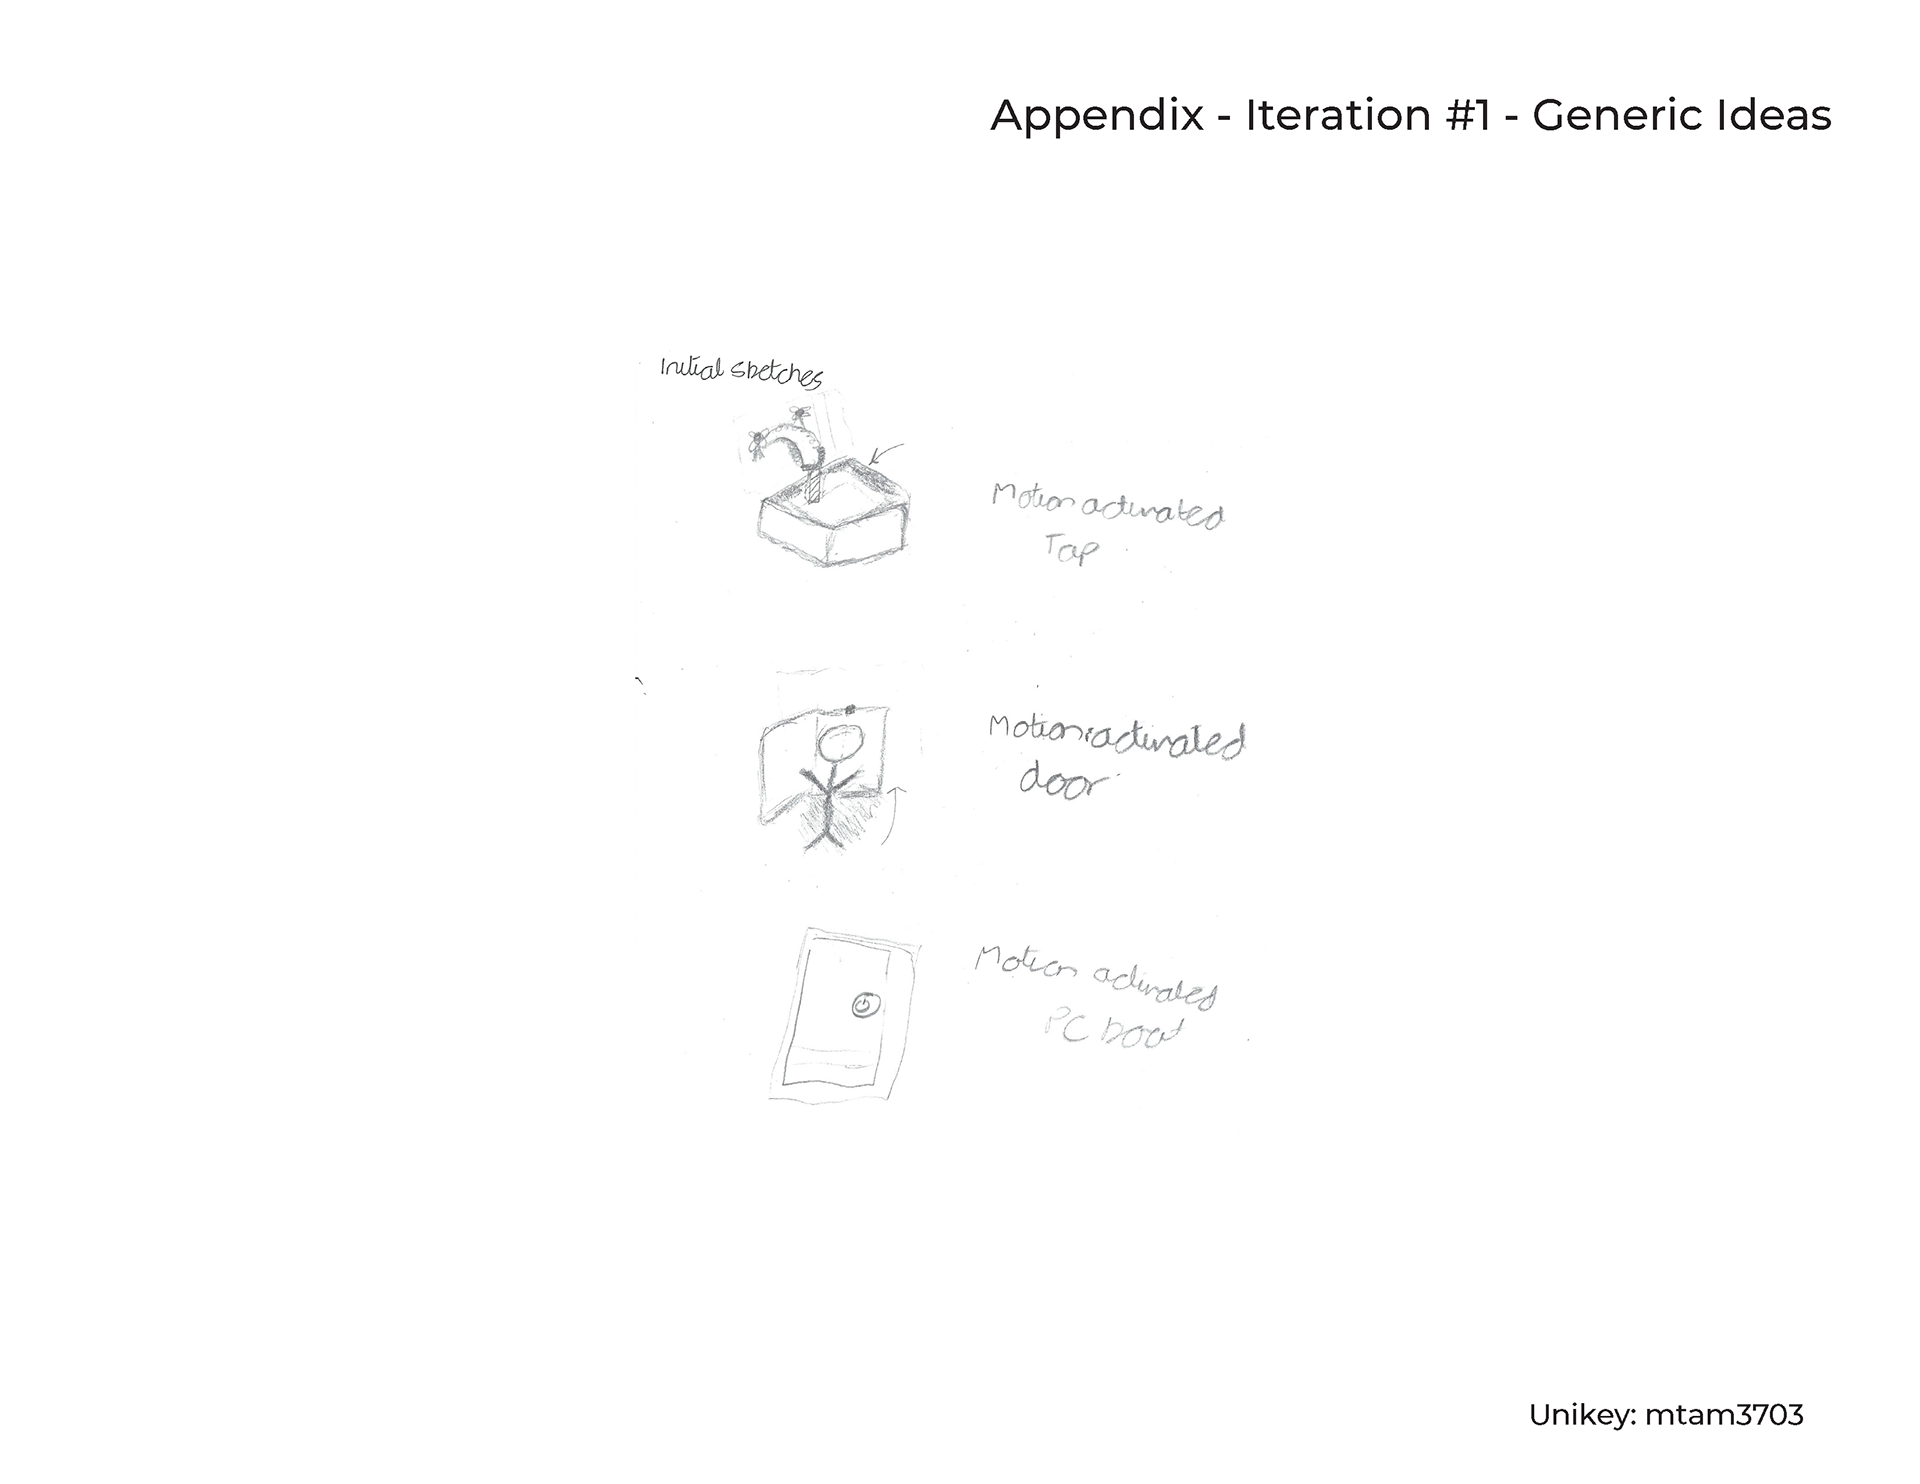
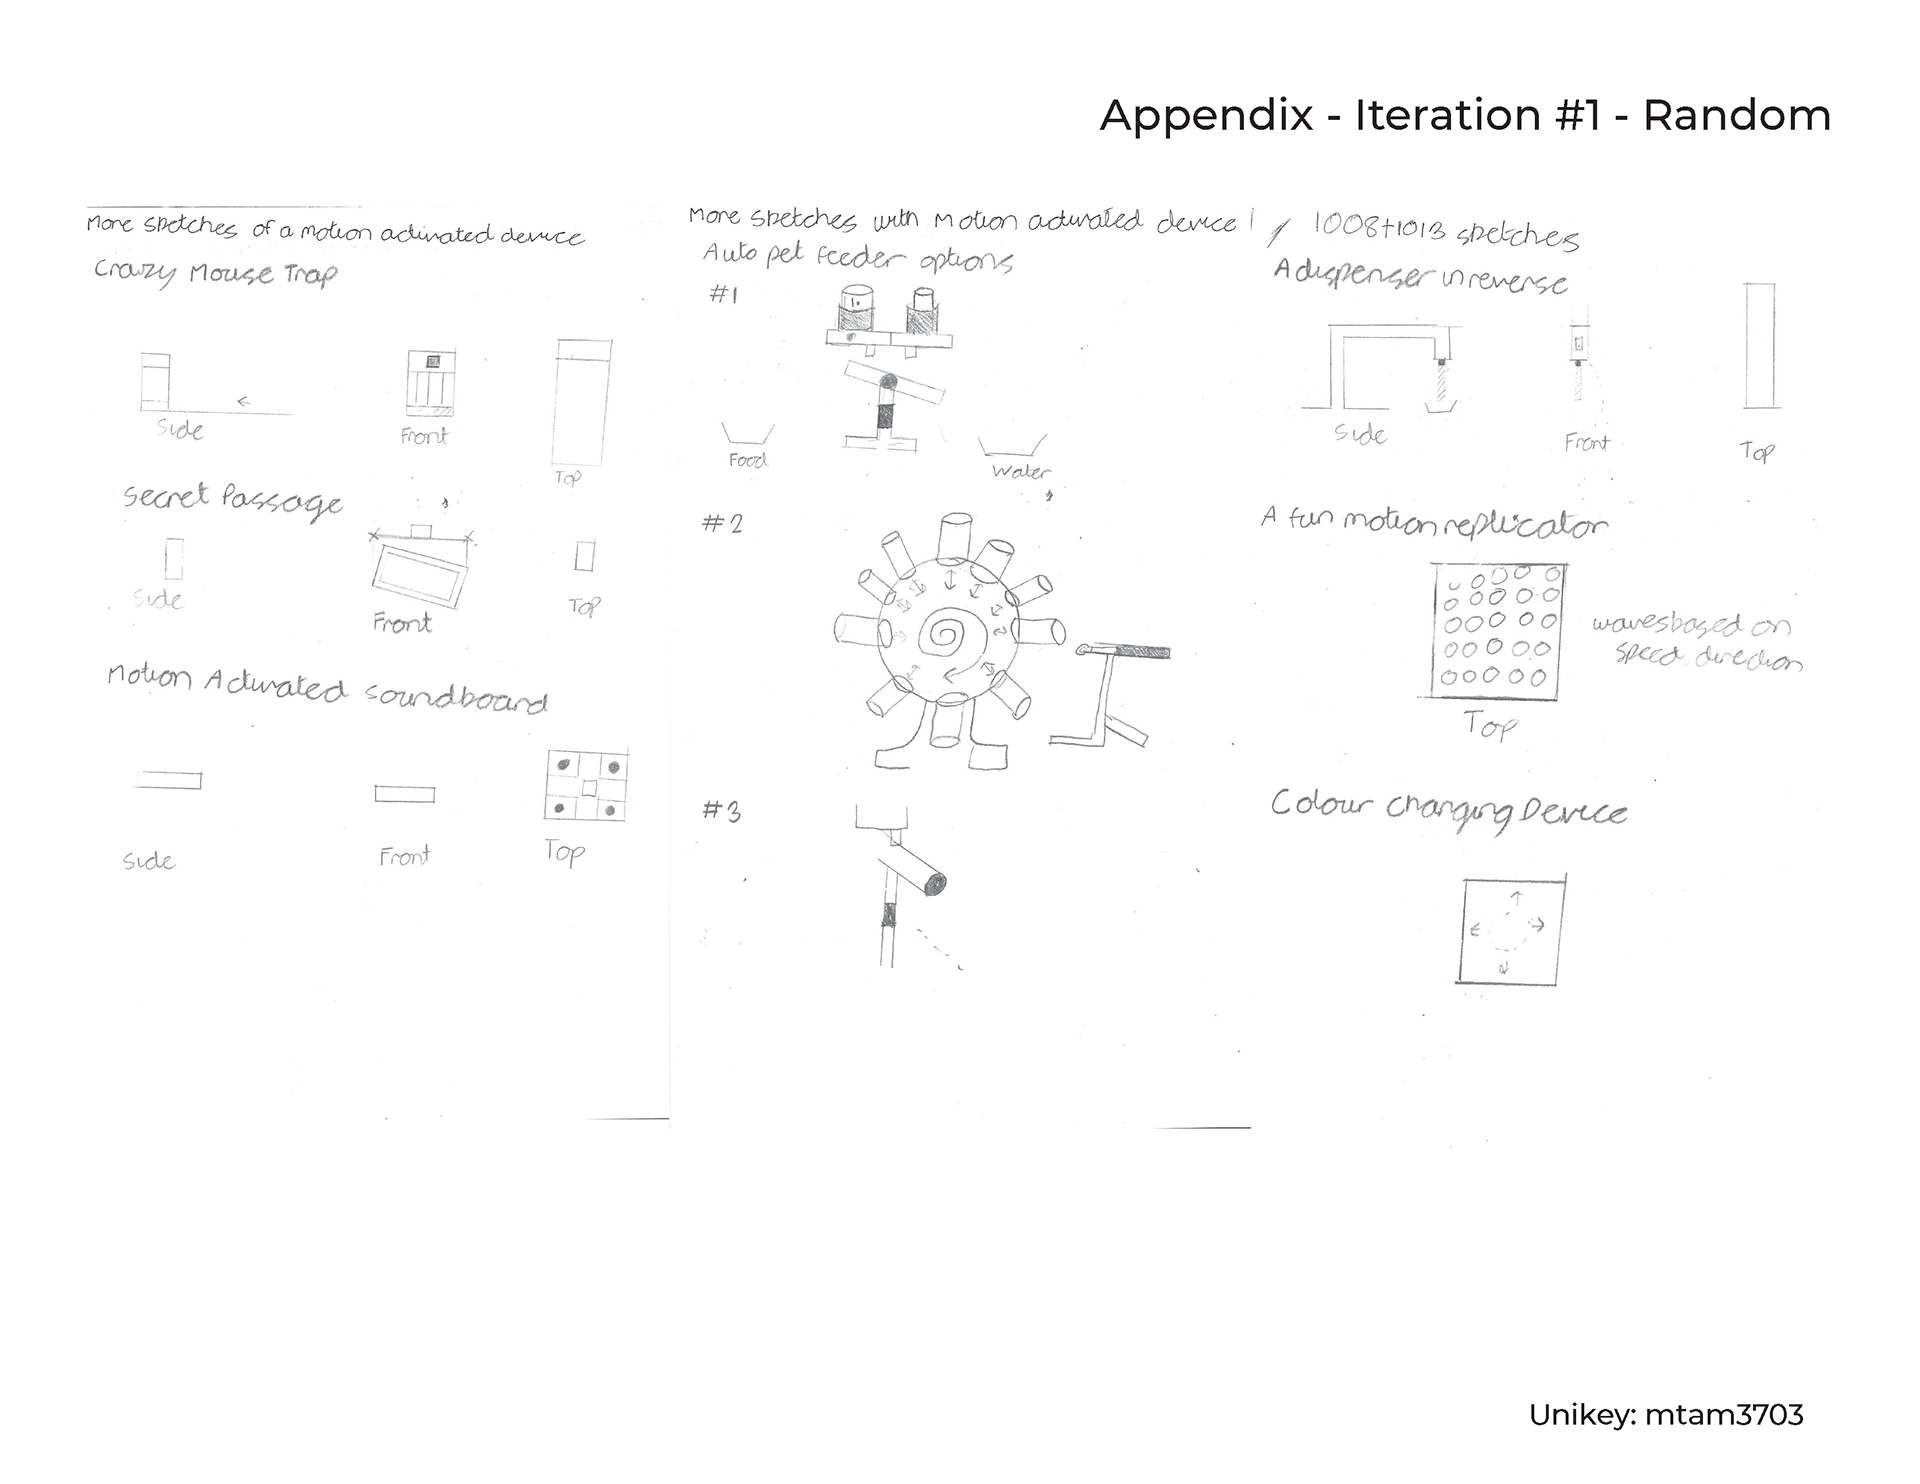
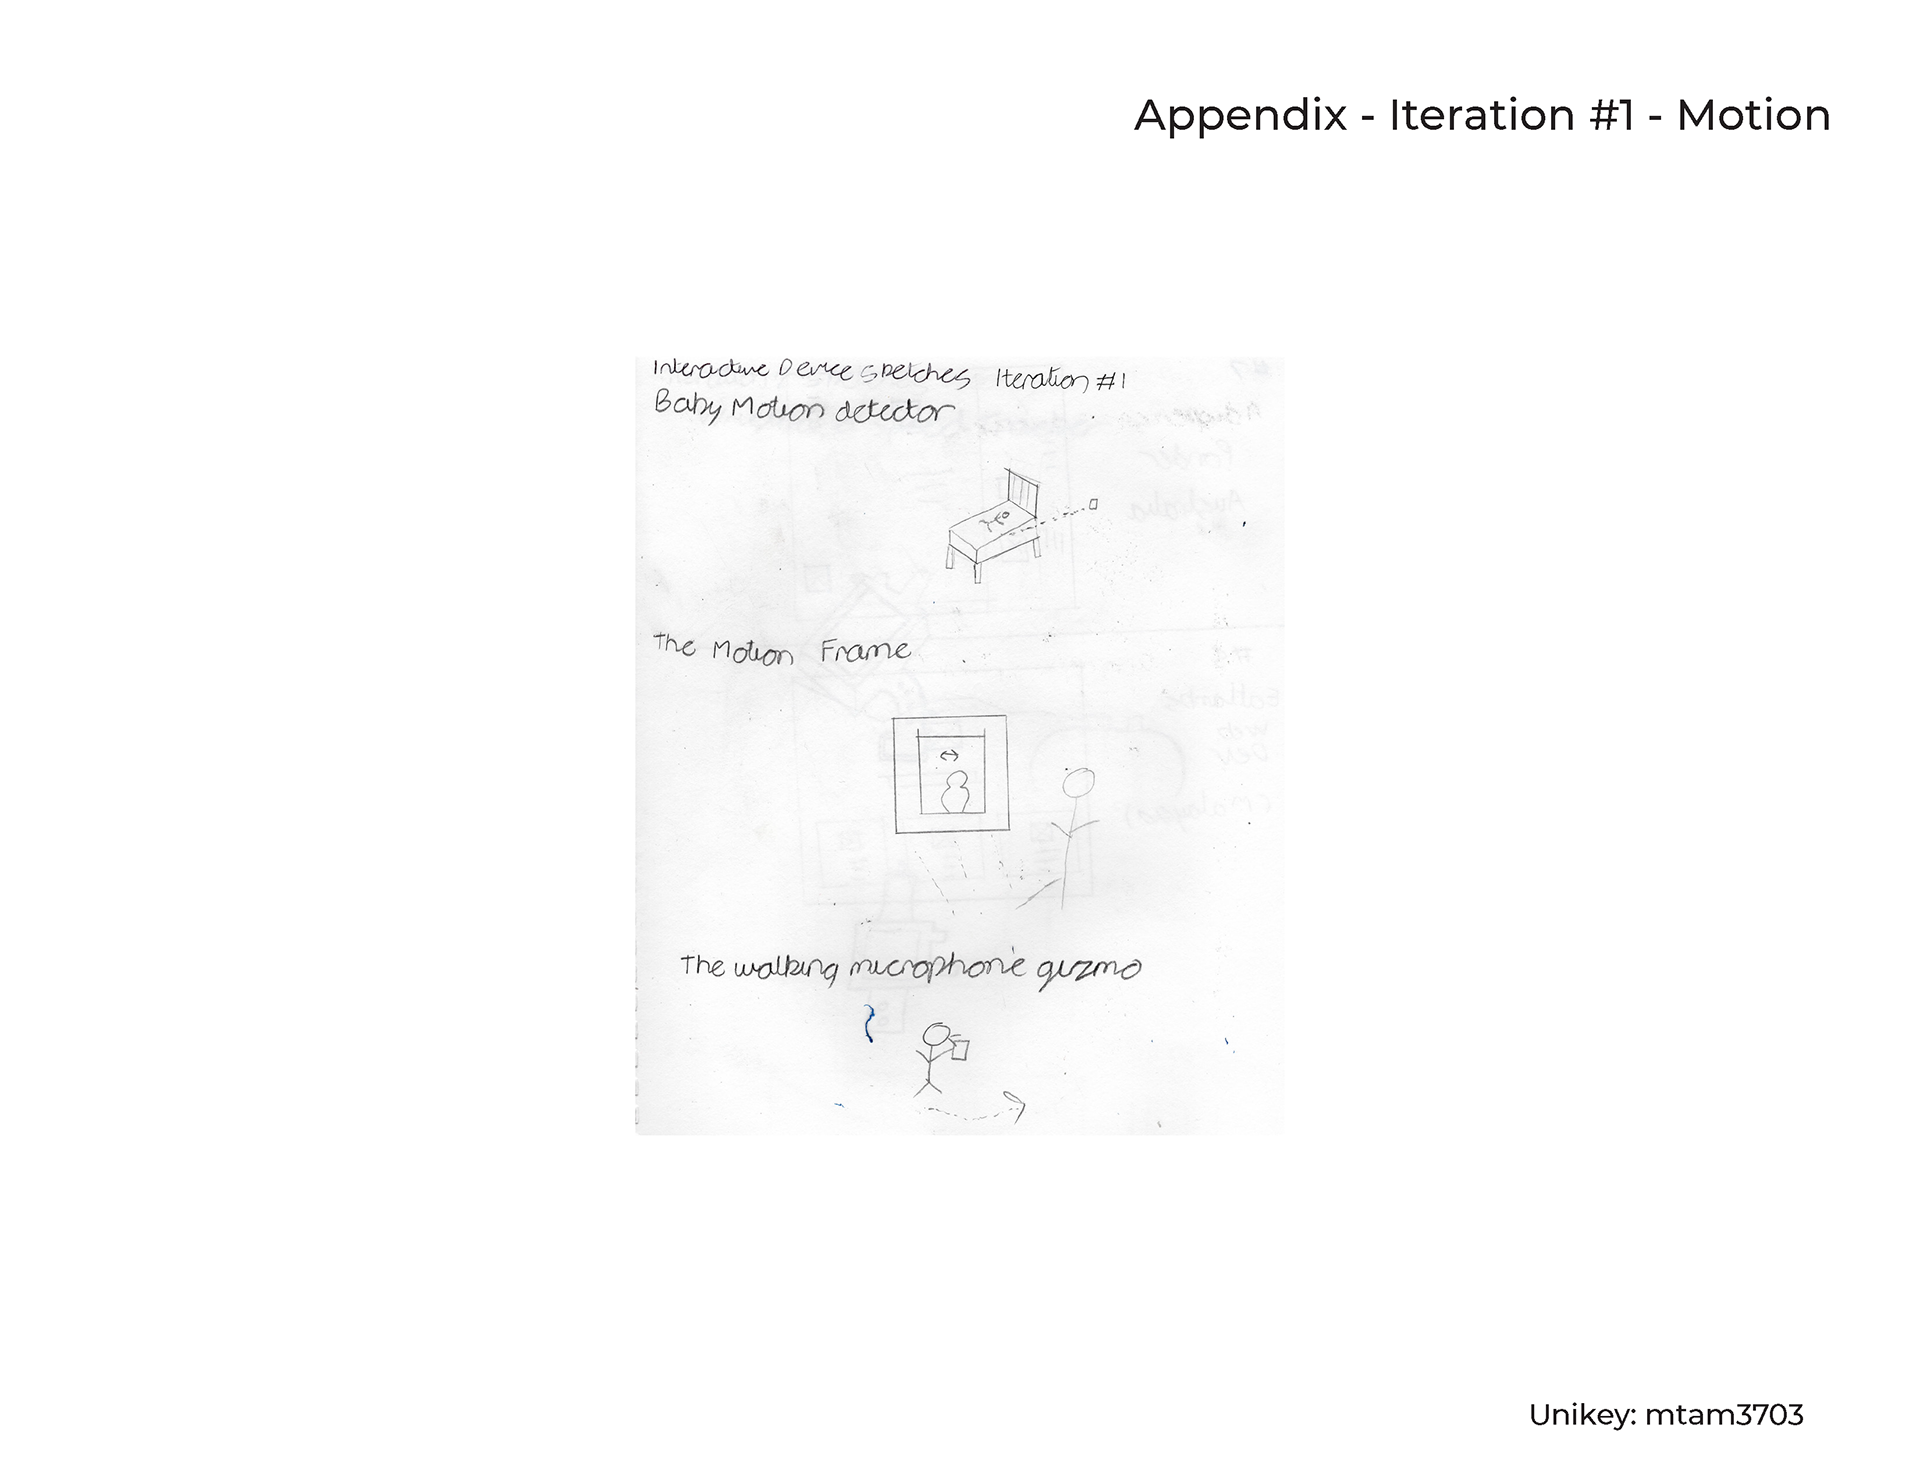
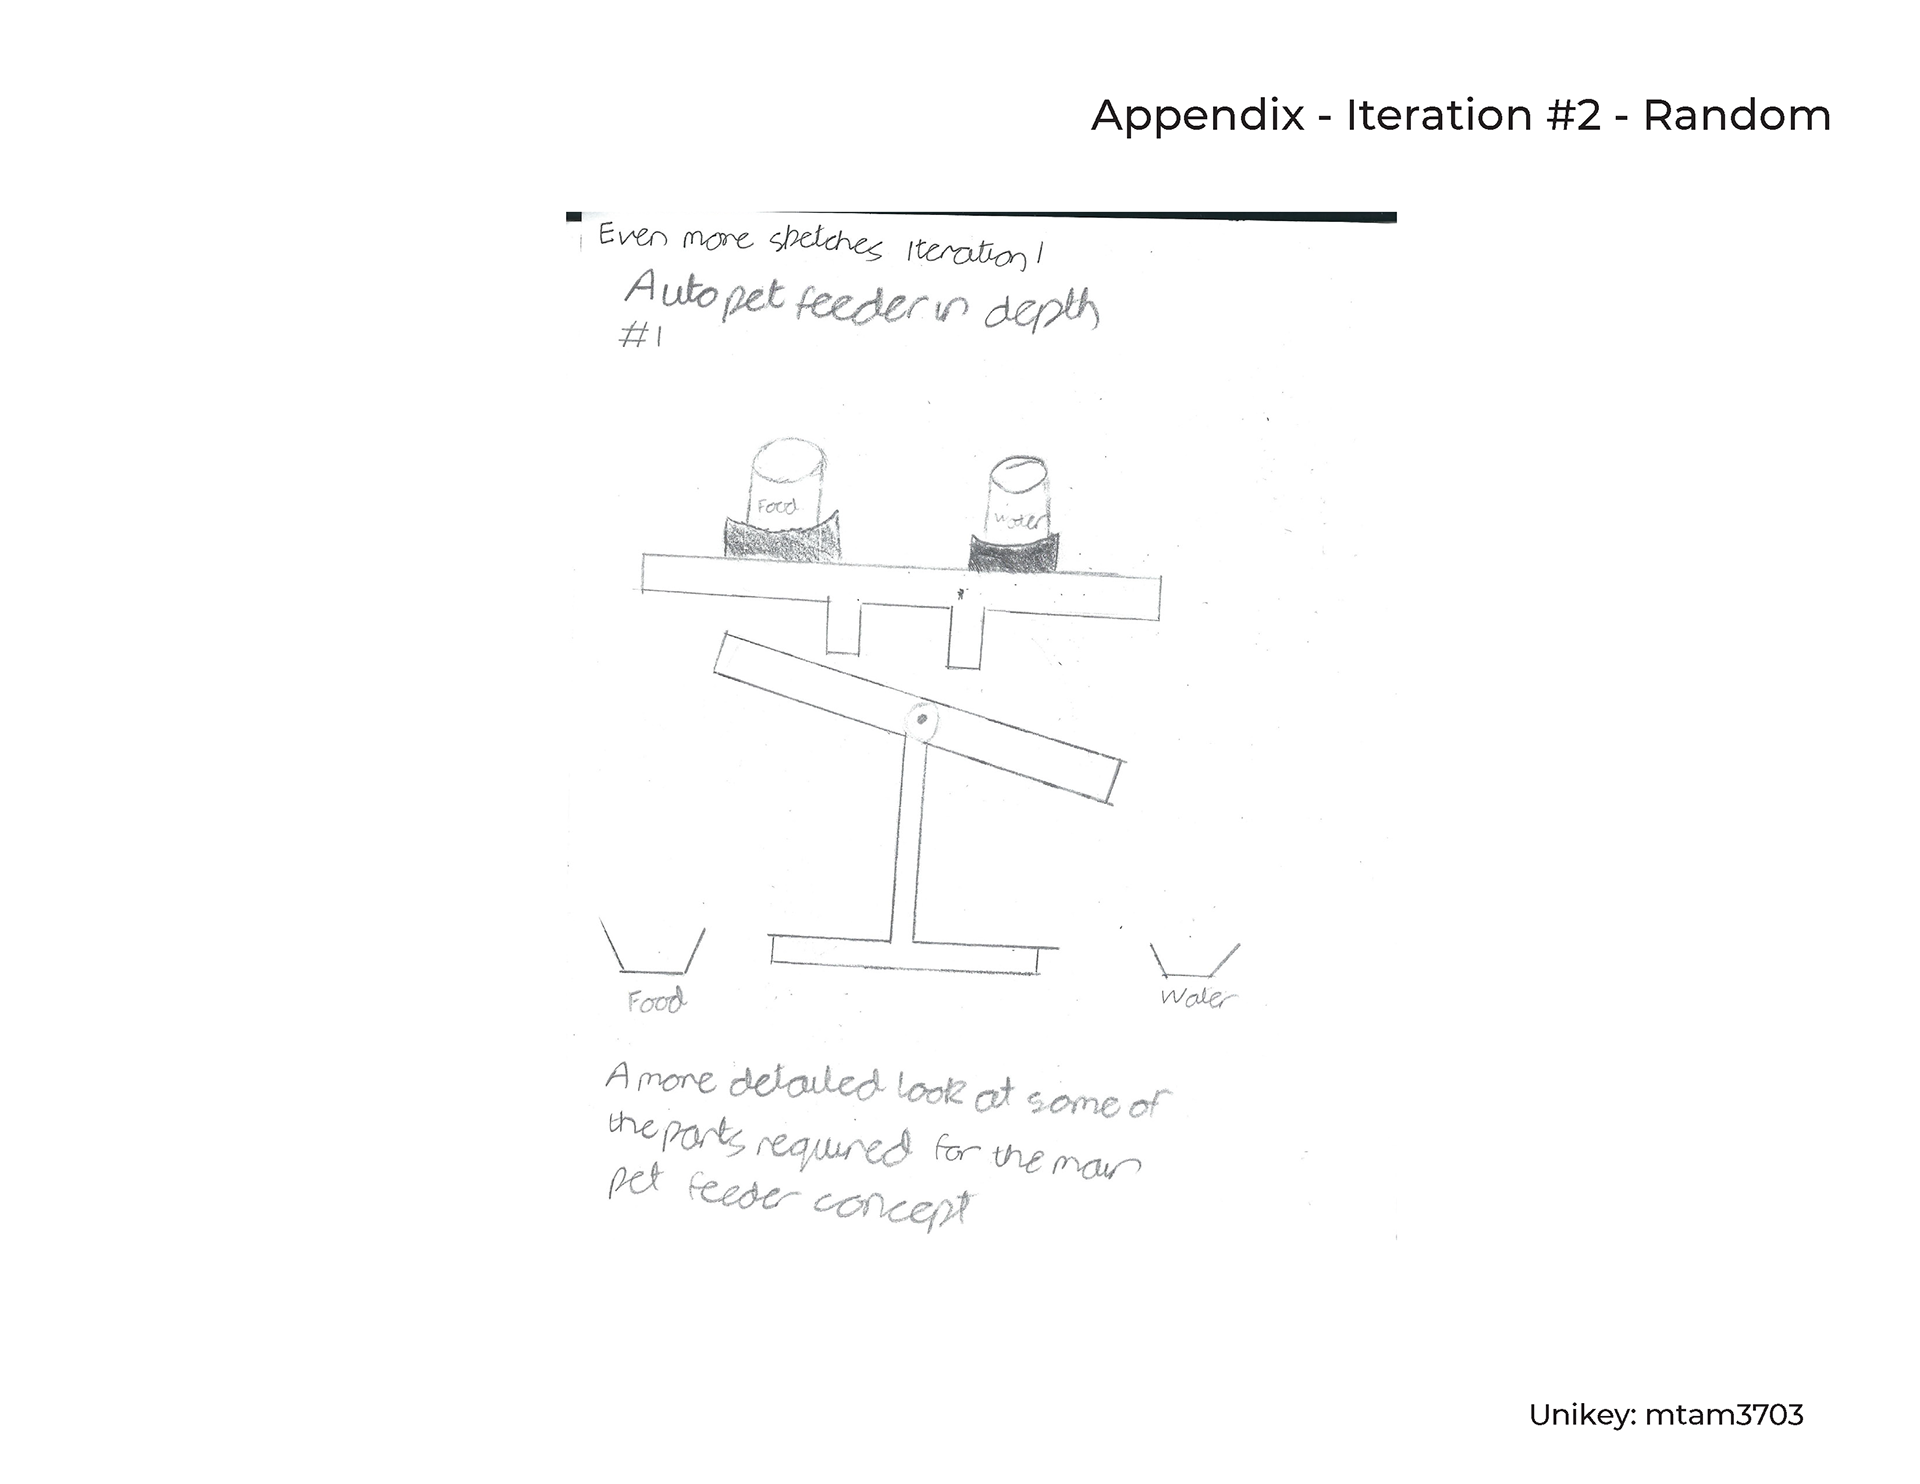
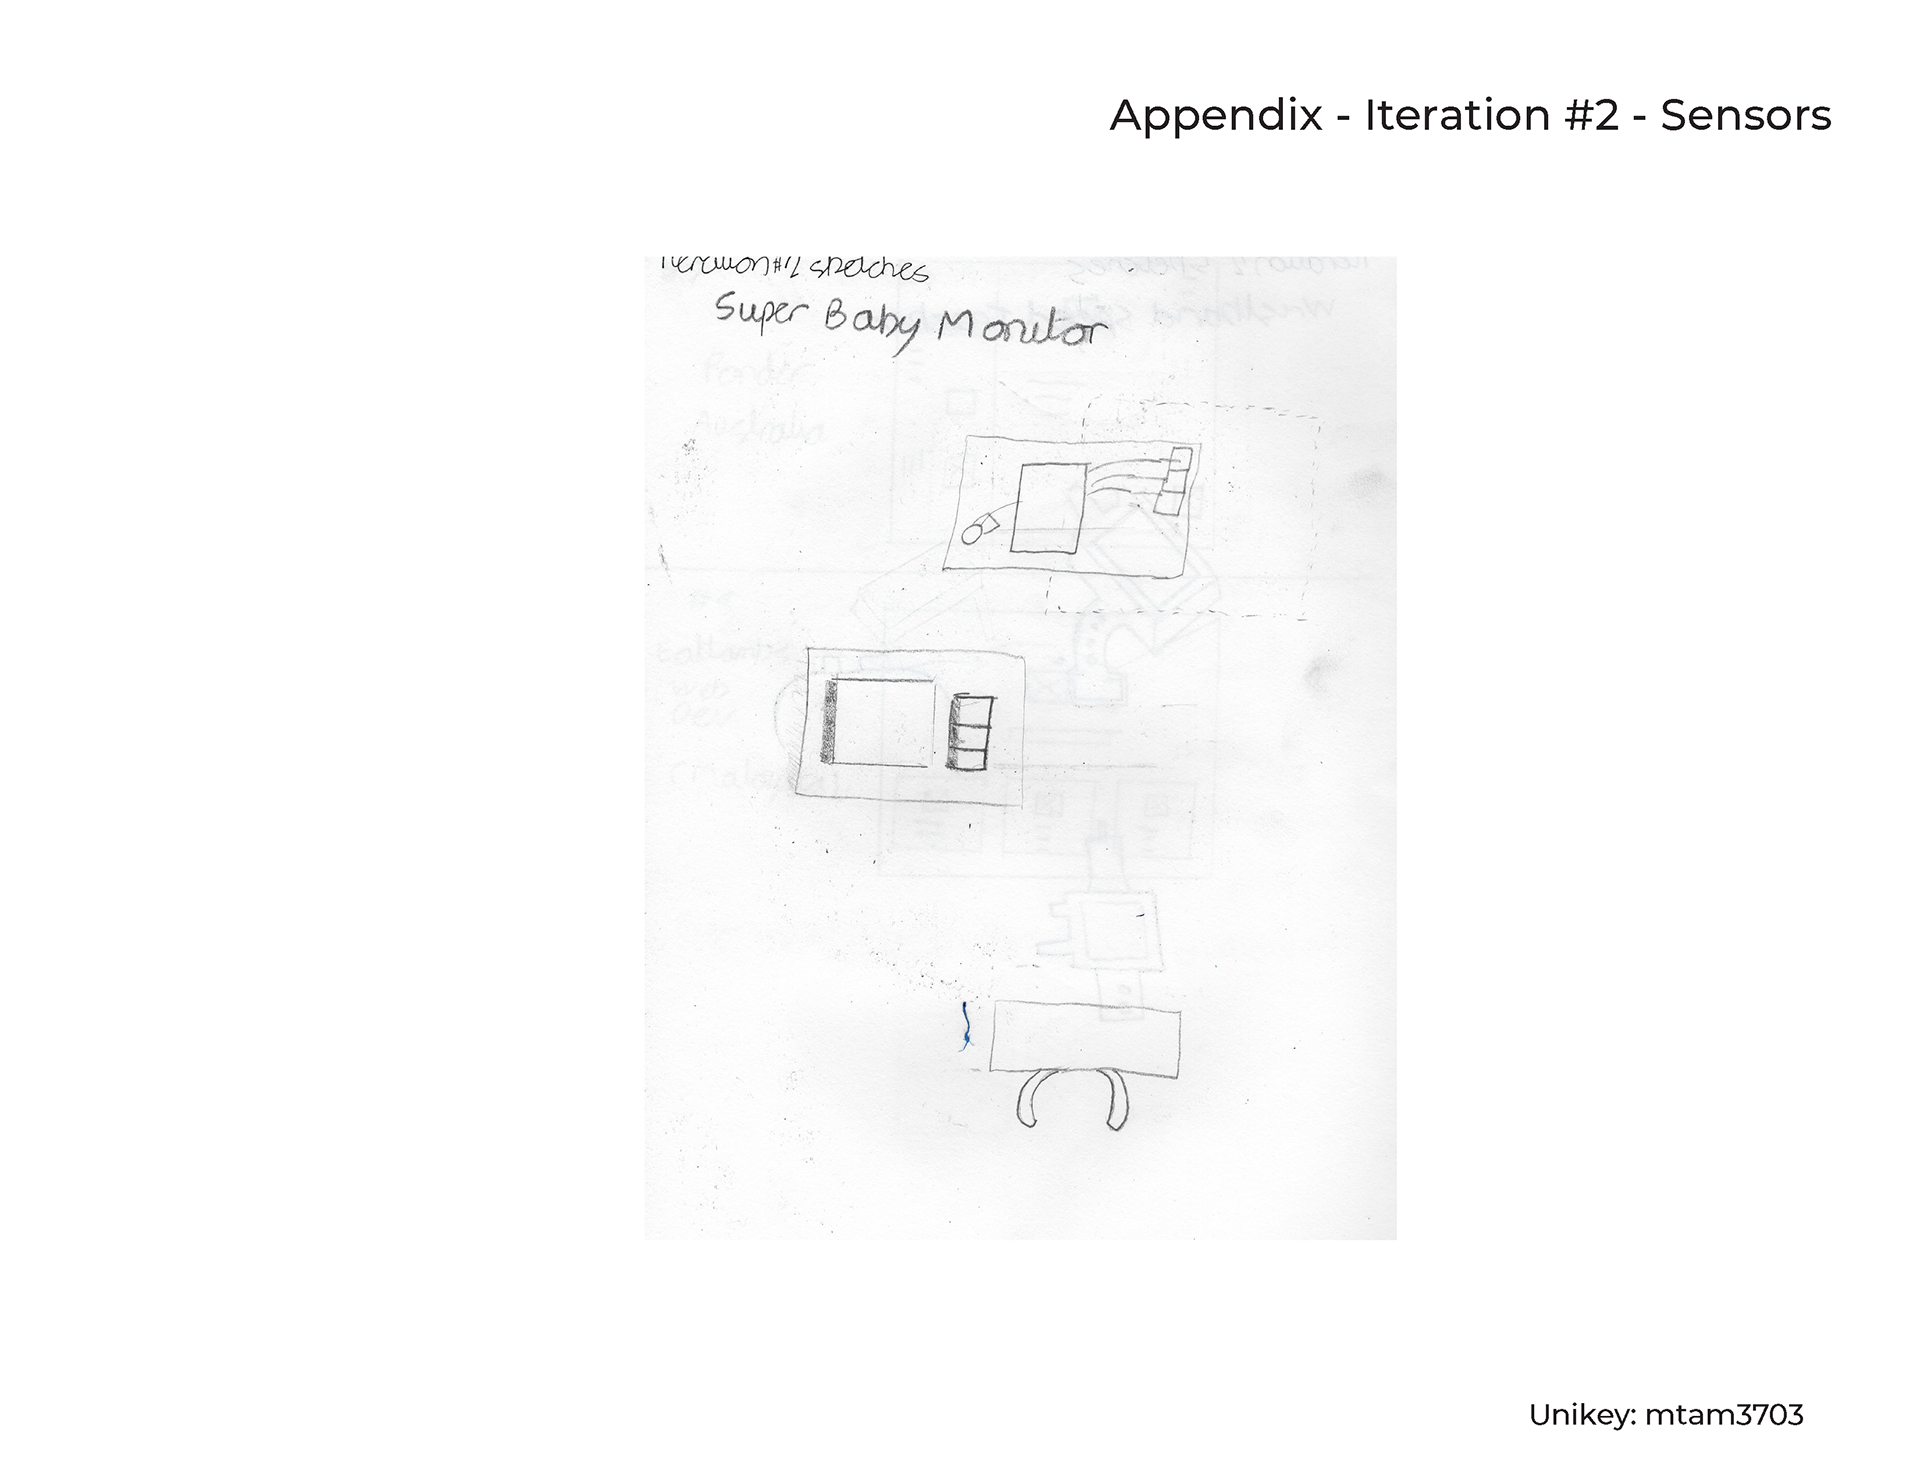
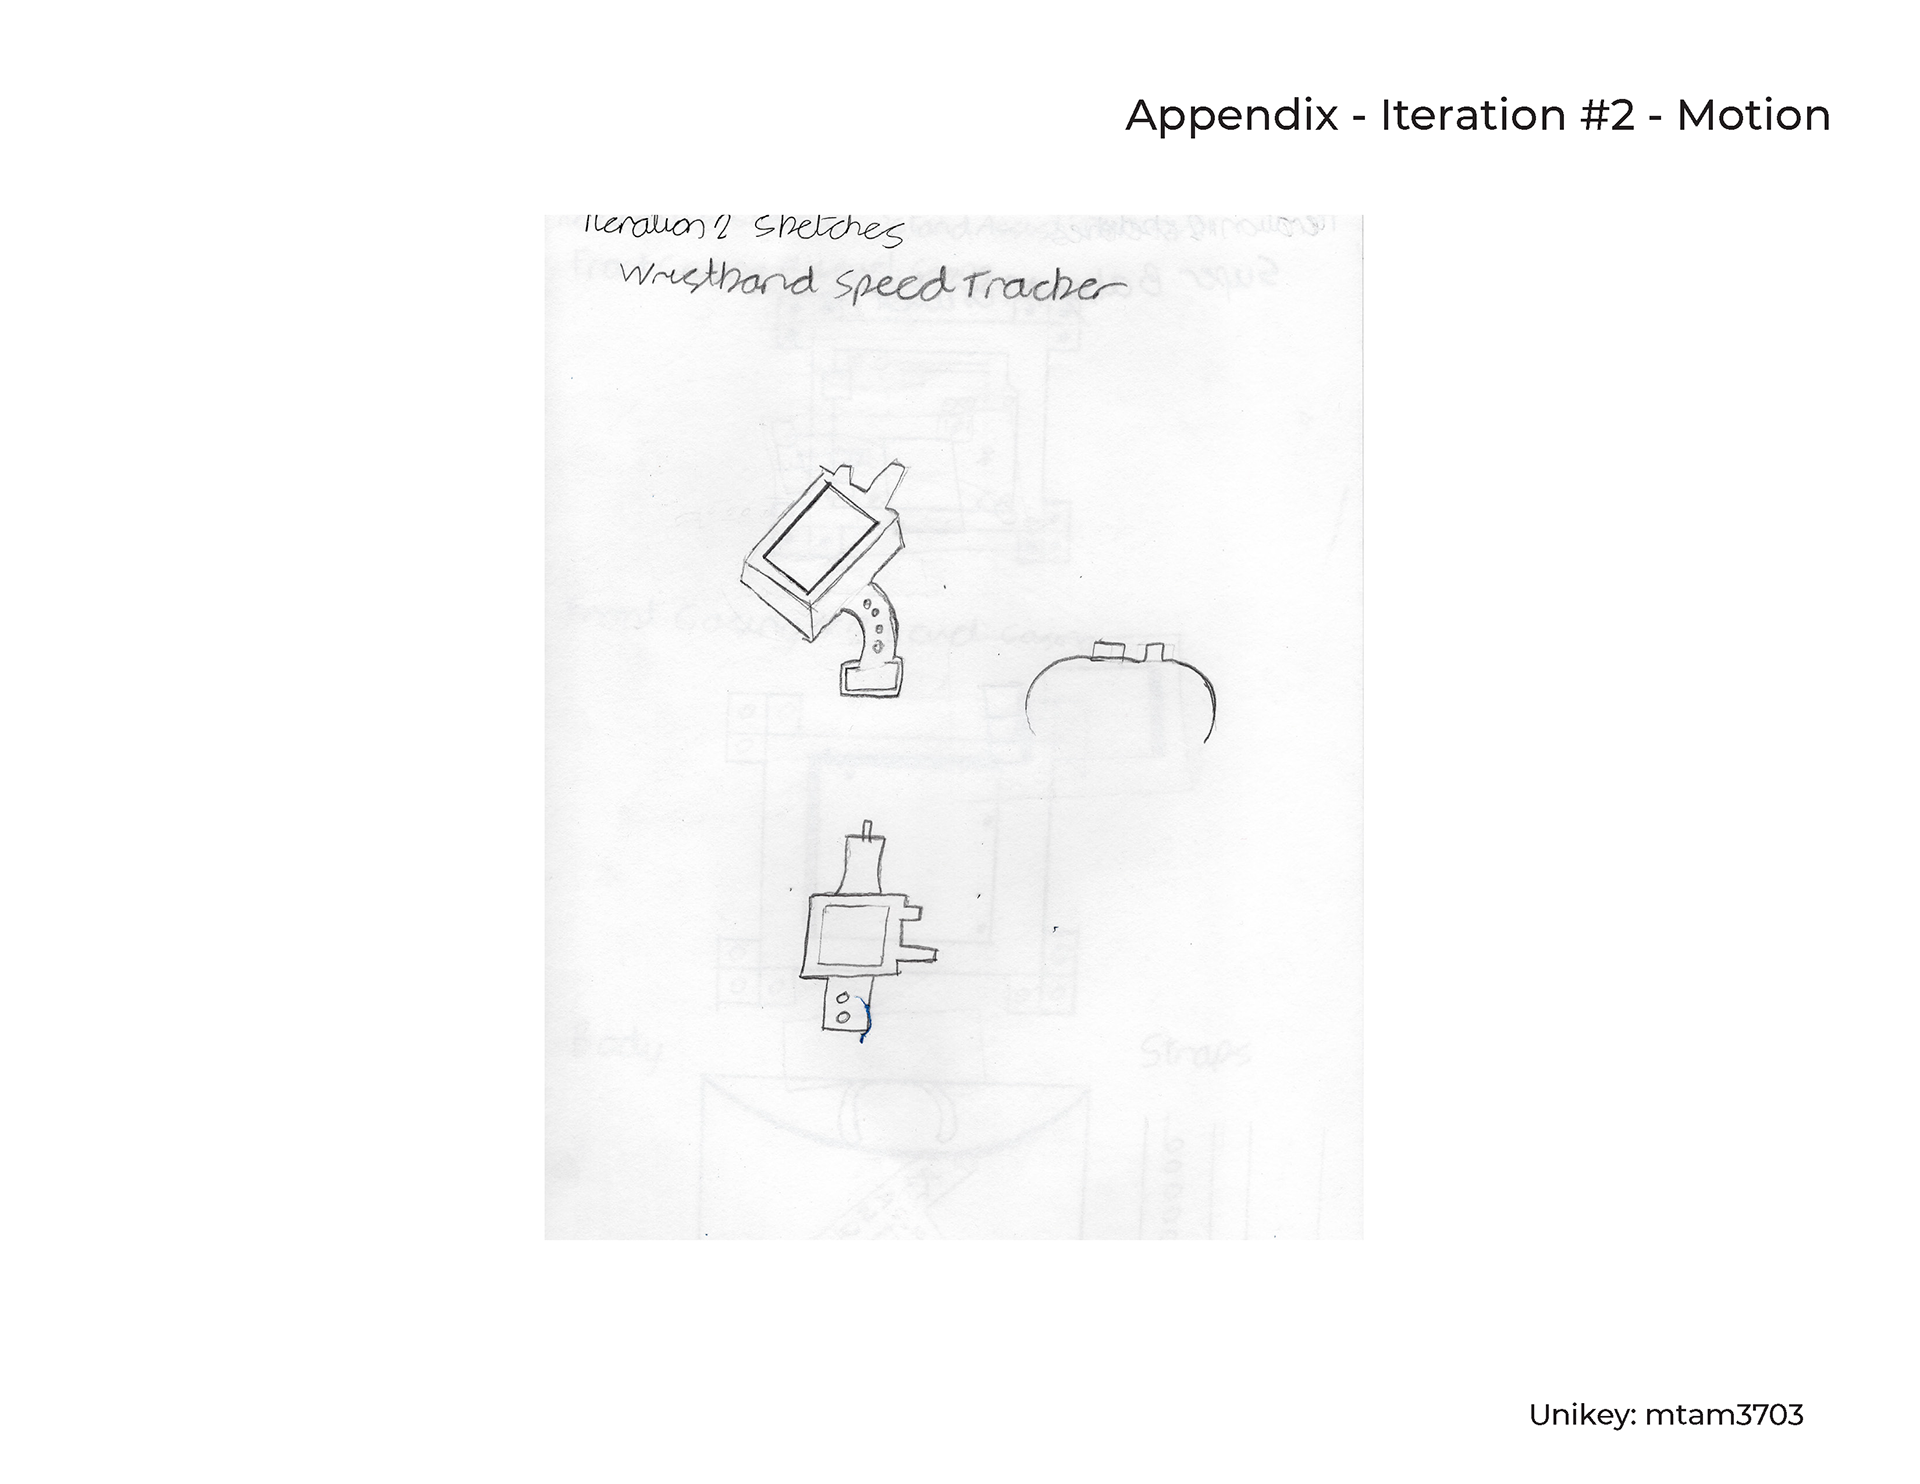
Before creating the StandAssist, a wide range of ideas were considered, to meet the brief of a 'motion activated device'.
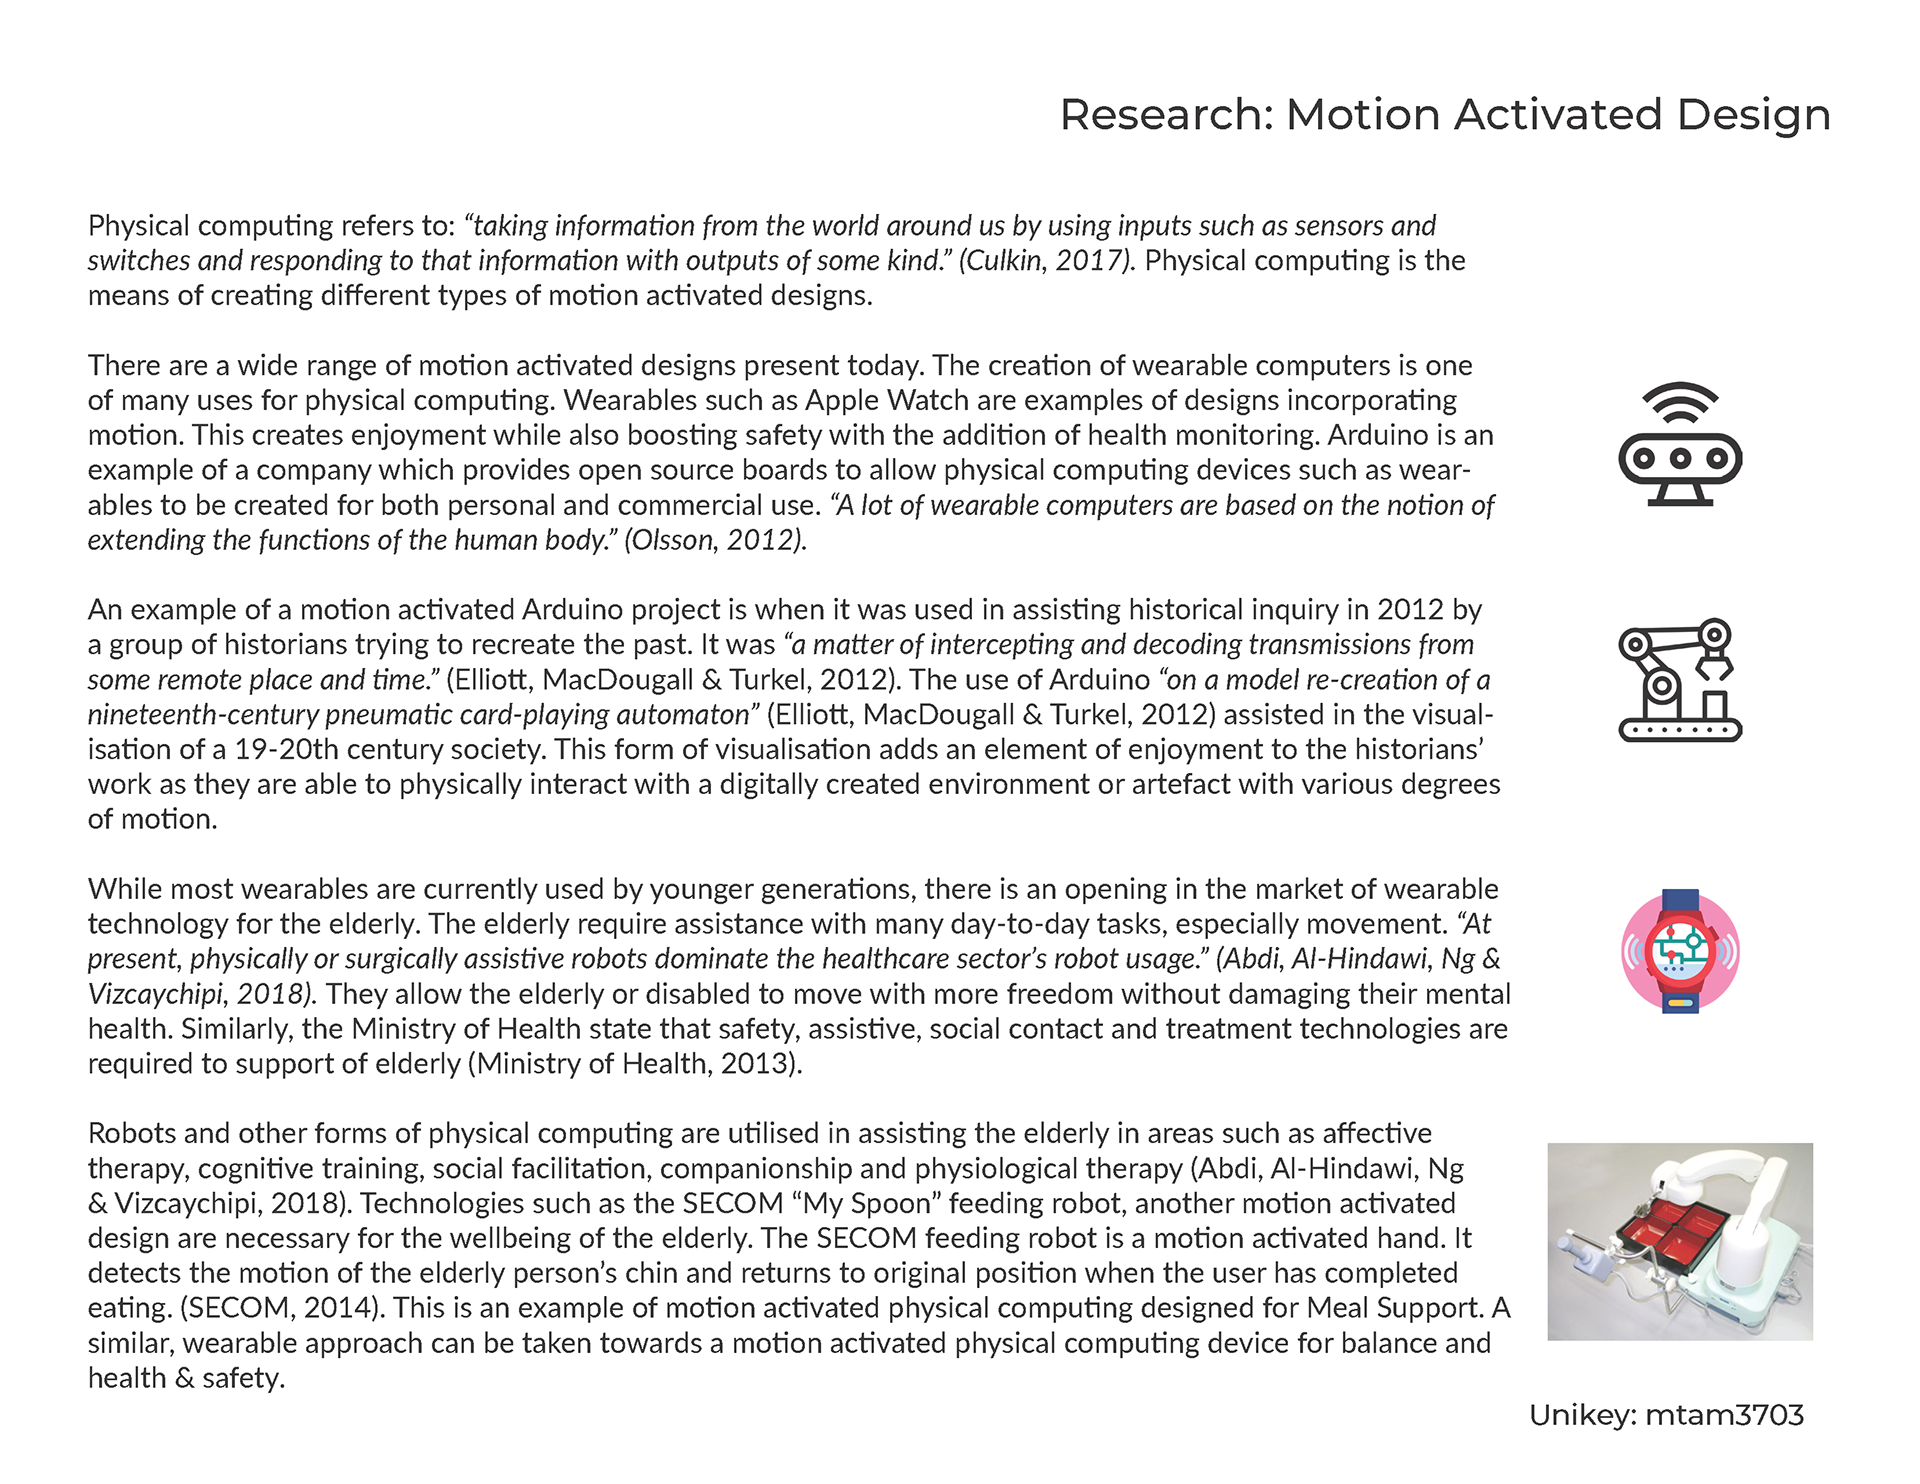
Here is the background research into the constraints and current precedent for a design intended to combat the drop attack issue.
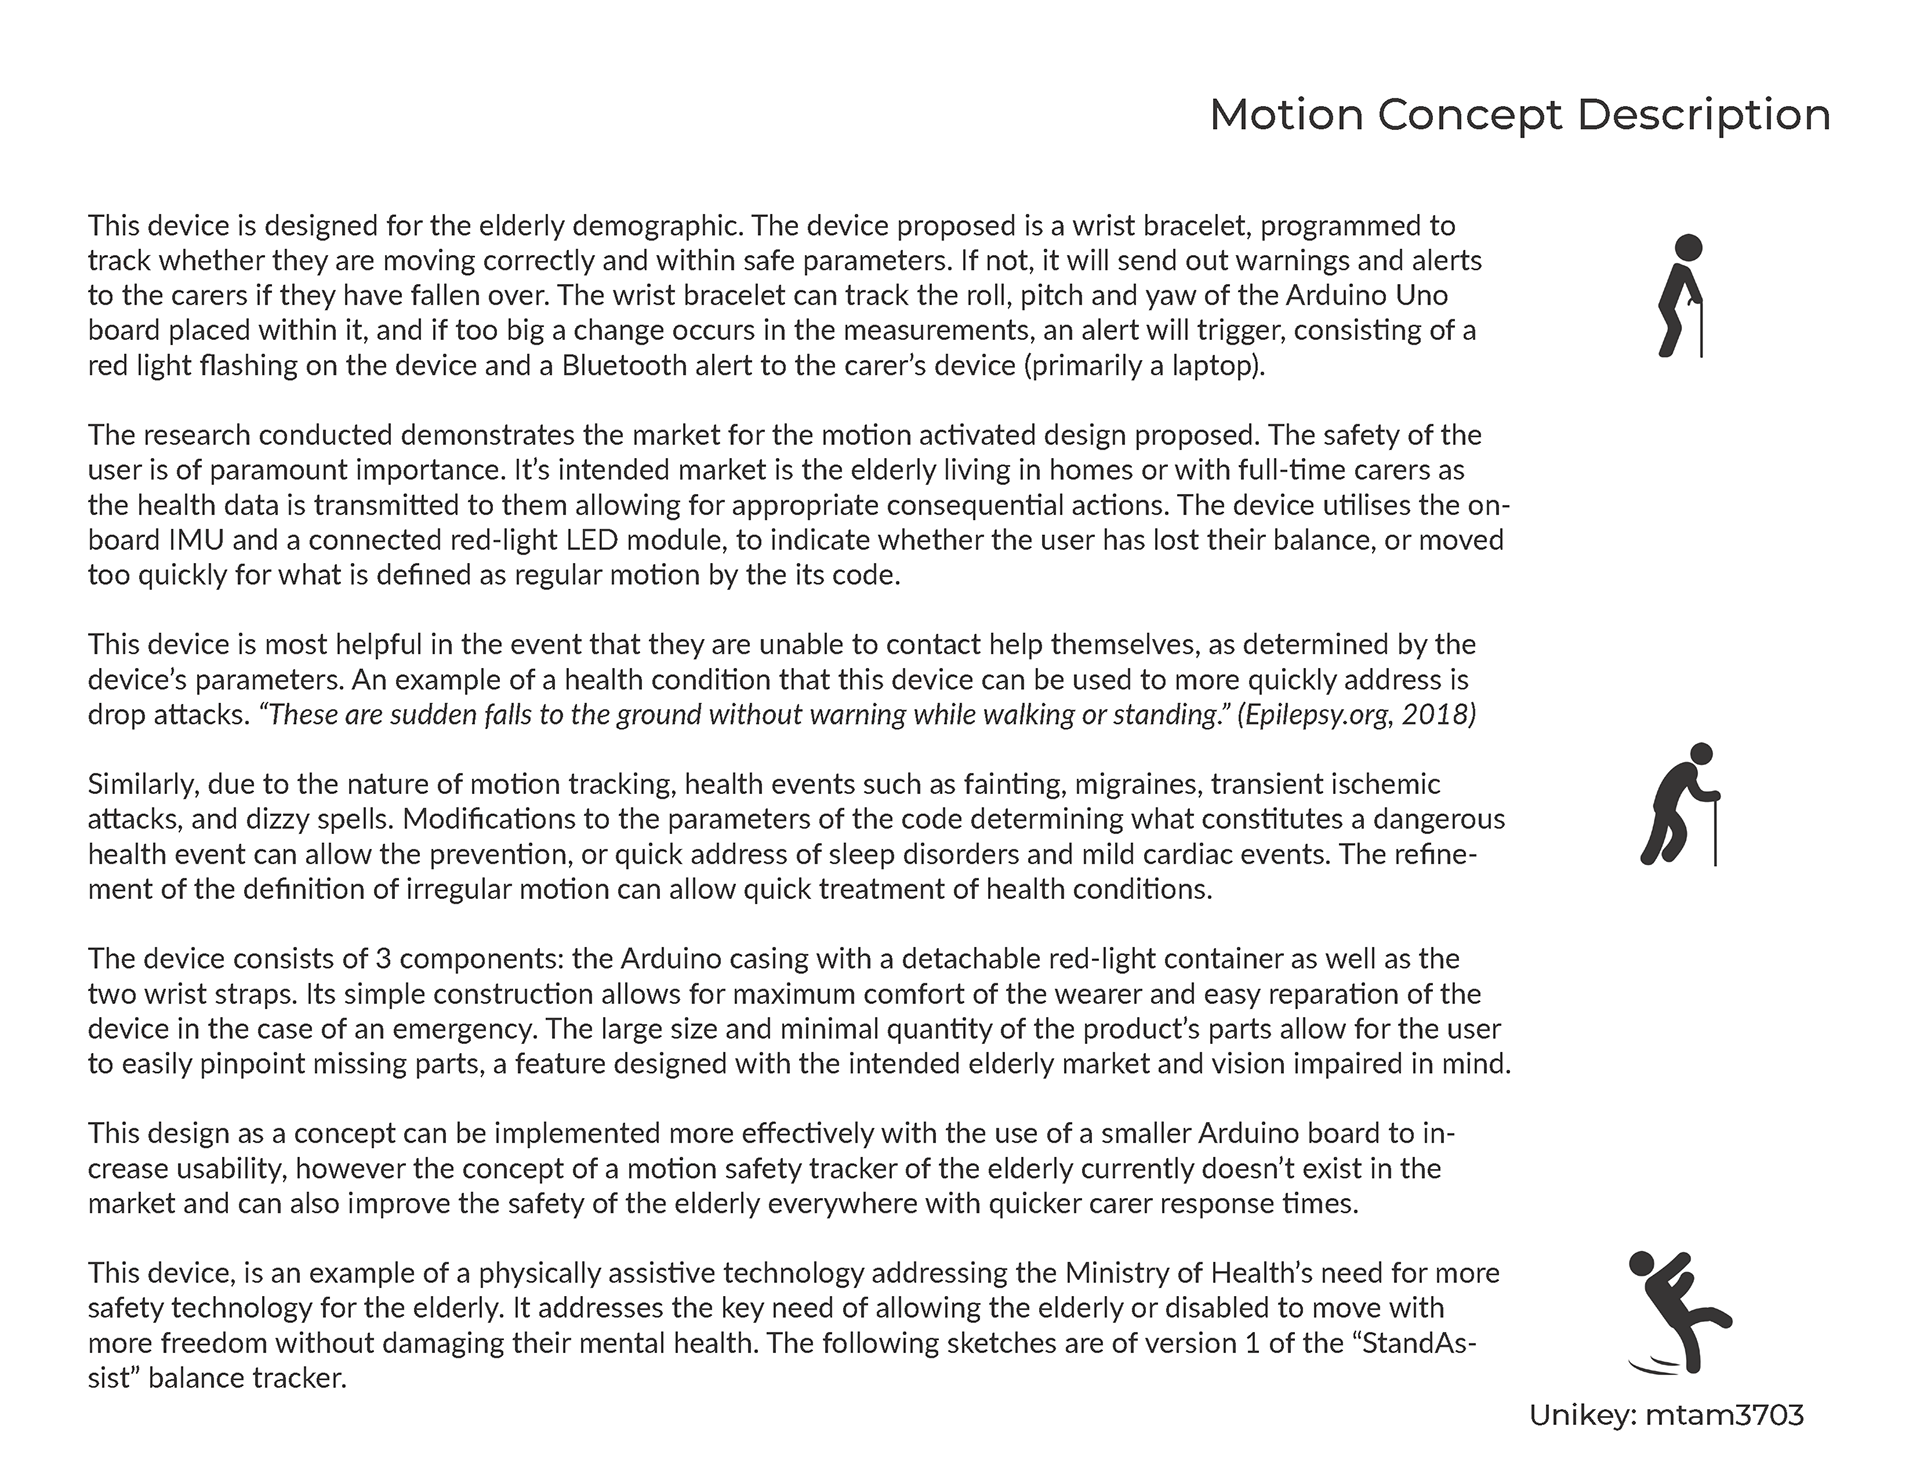
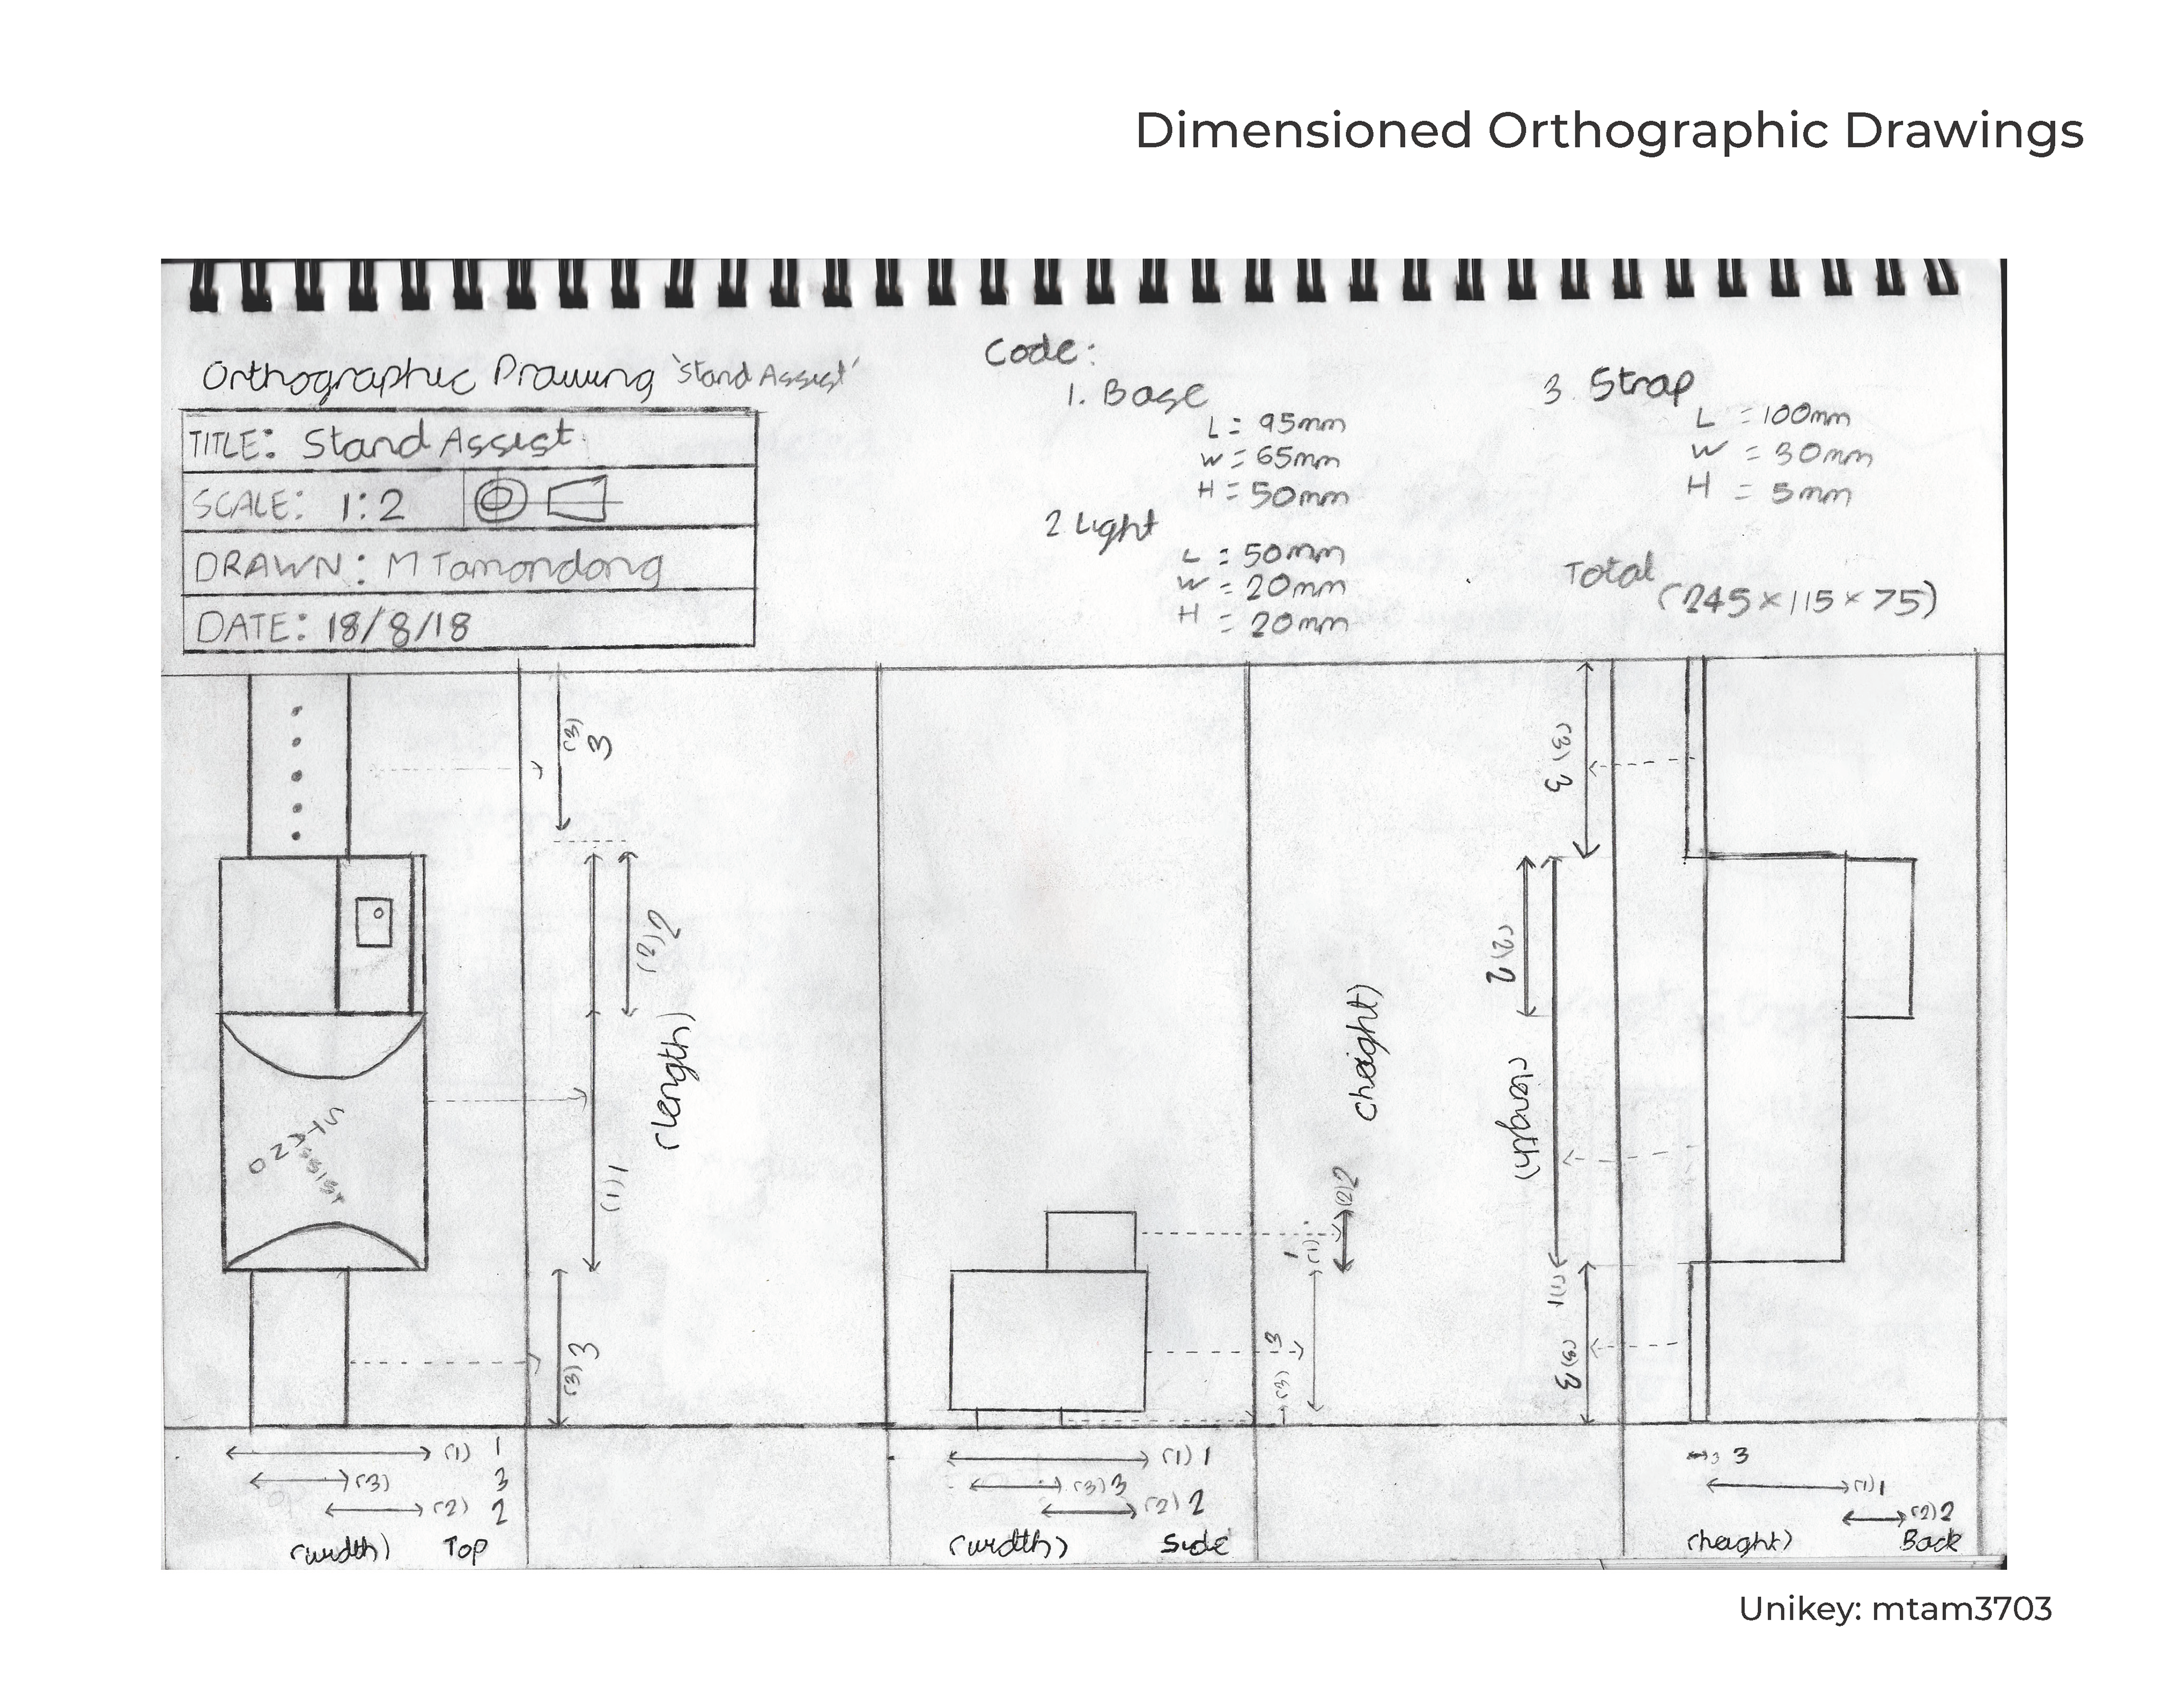
Here are the first iteration of design specs, in the form of orthographic mockups, and inteded use for the StandAssist.
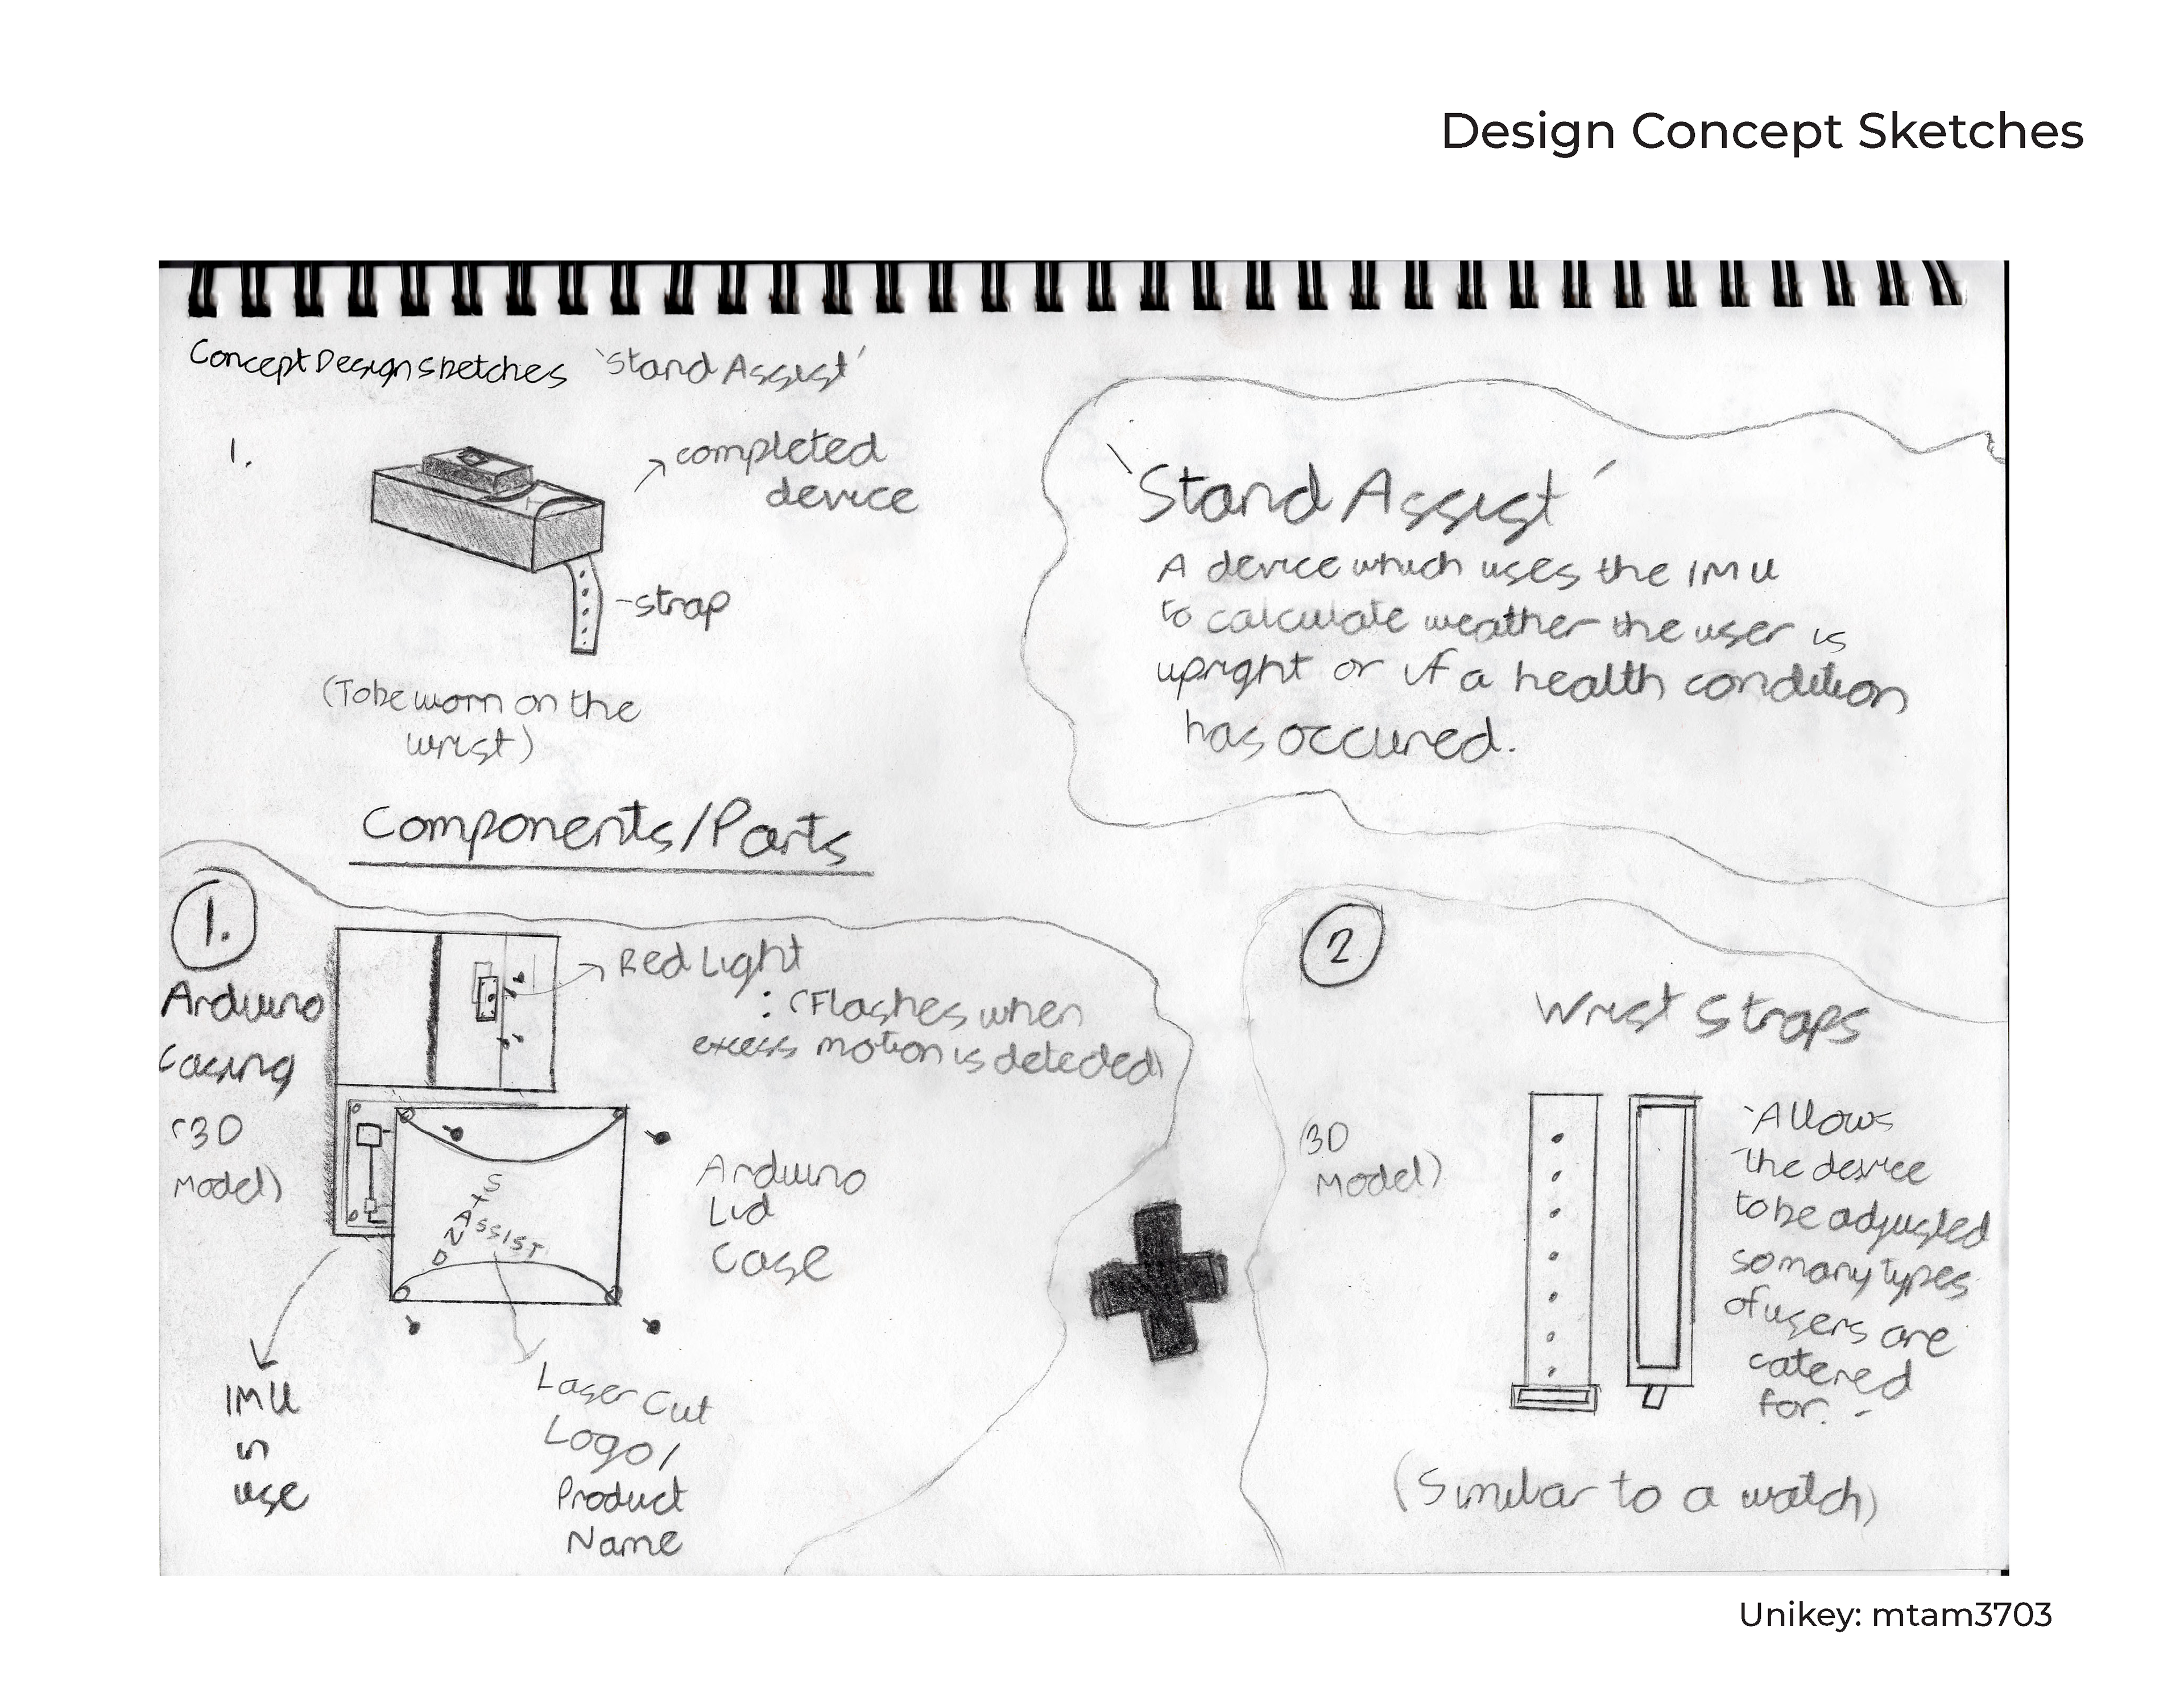
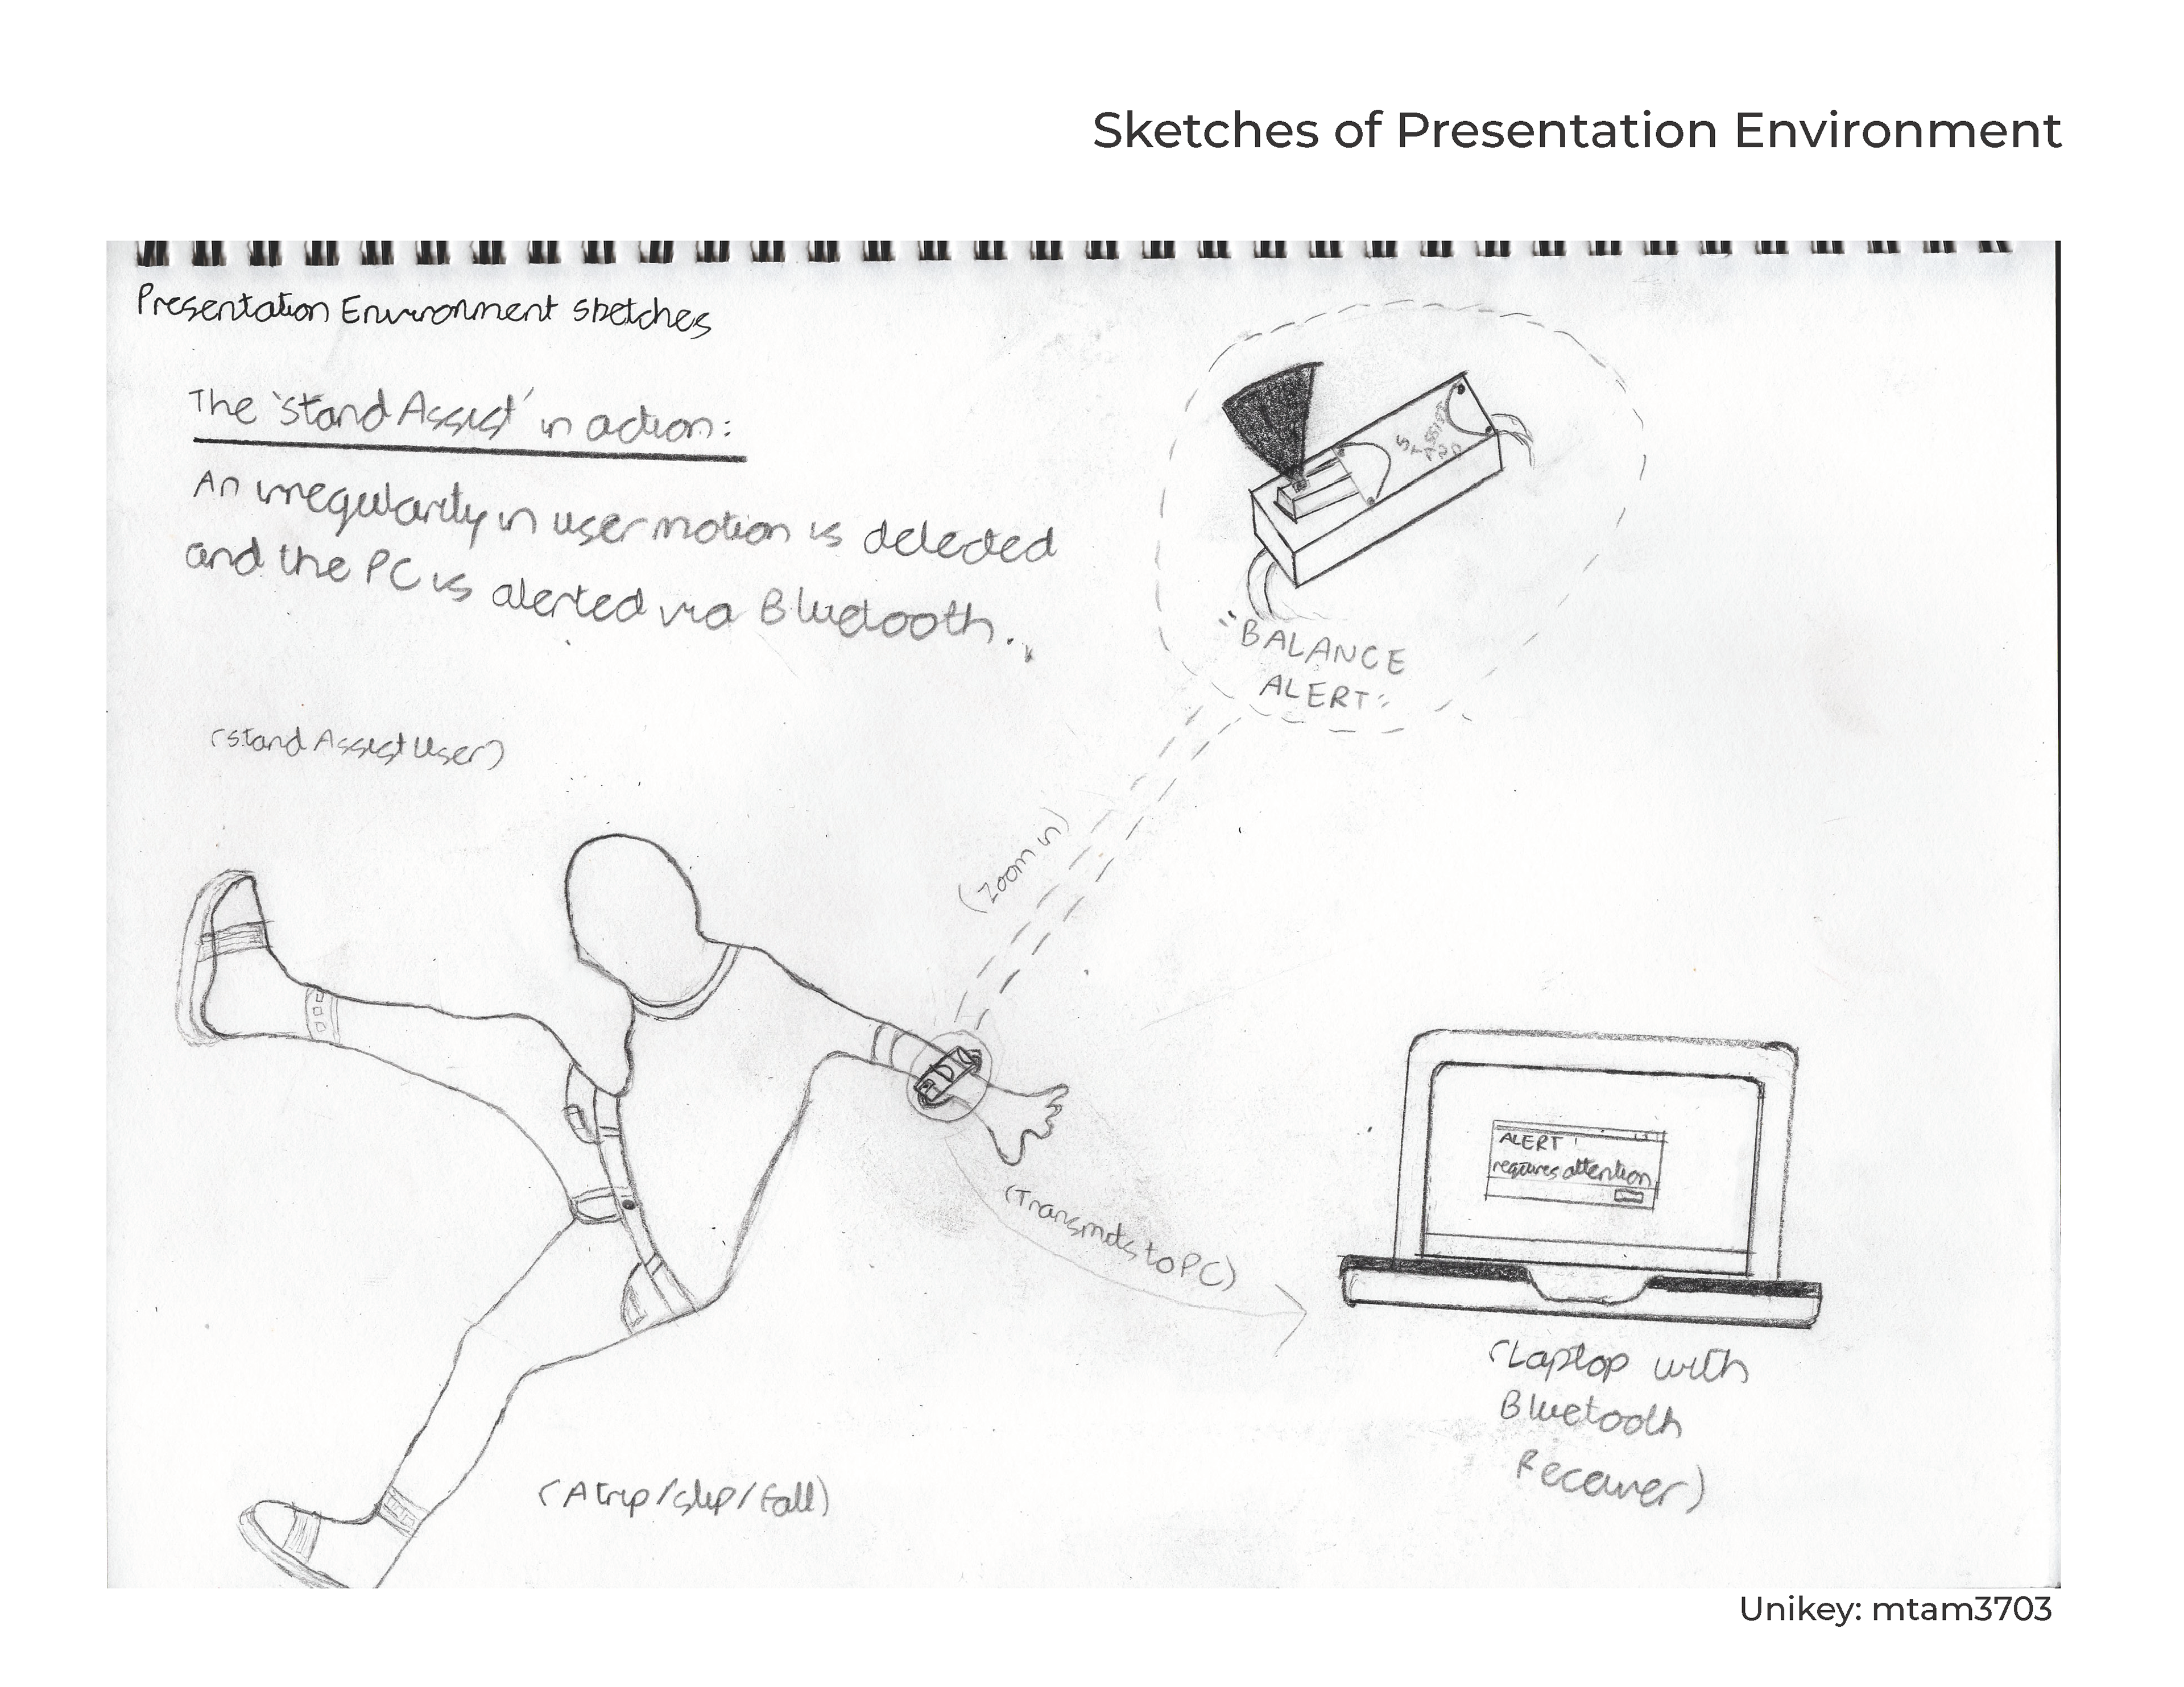
We conducted testing with this idea, and realised that we'd need more space for our device to fit inside the encasing. Here is our findings featured below:
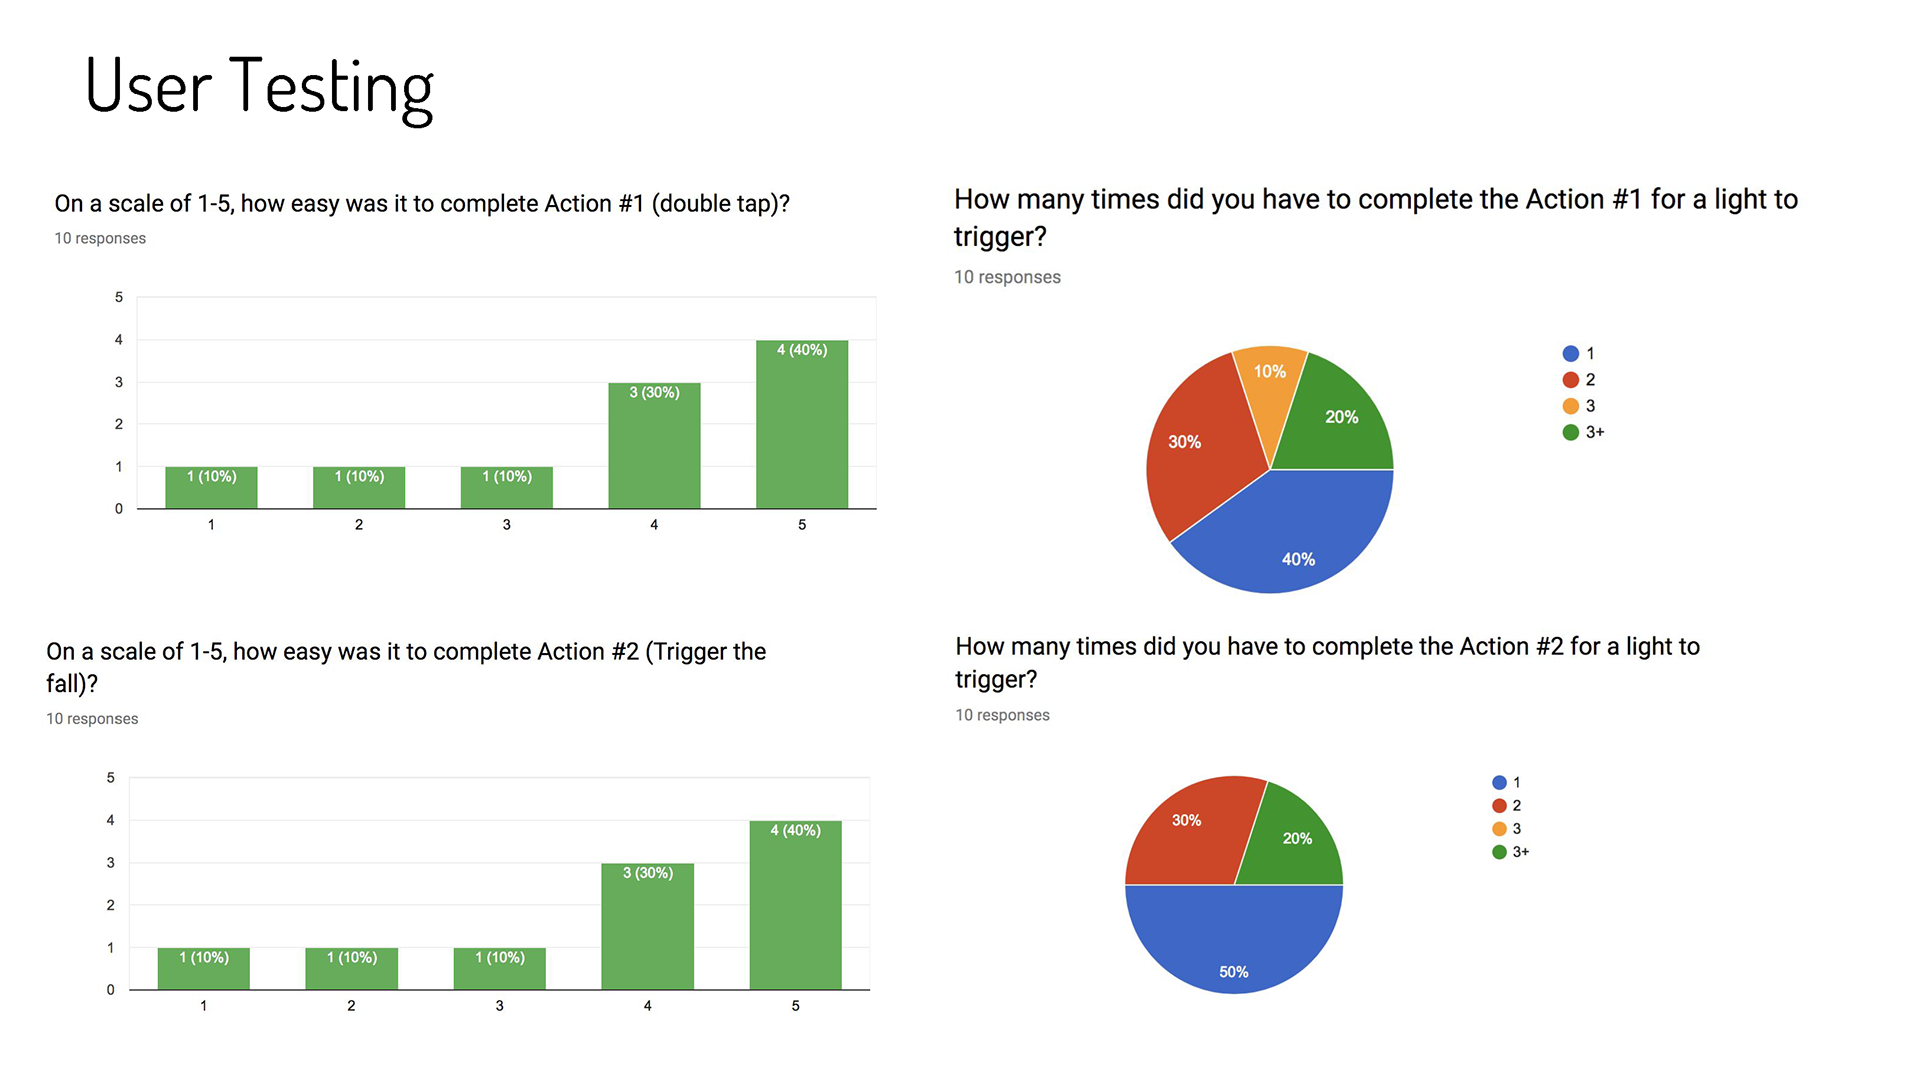
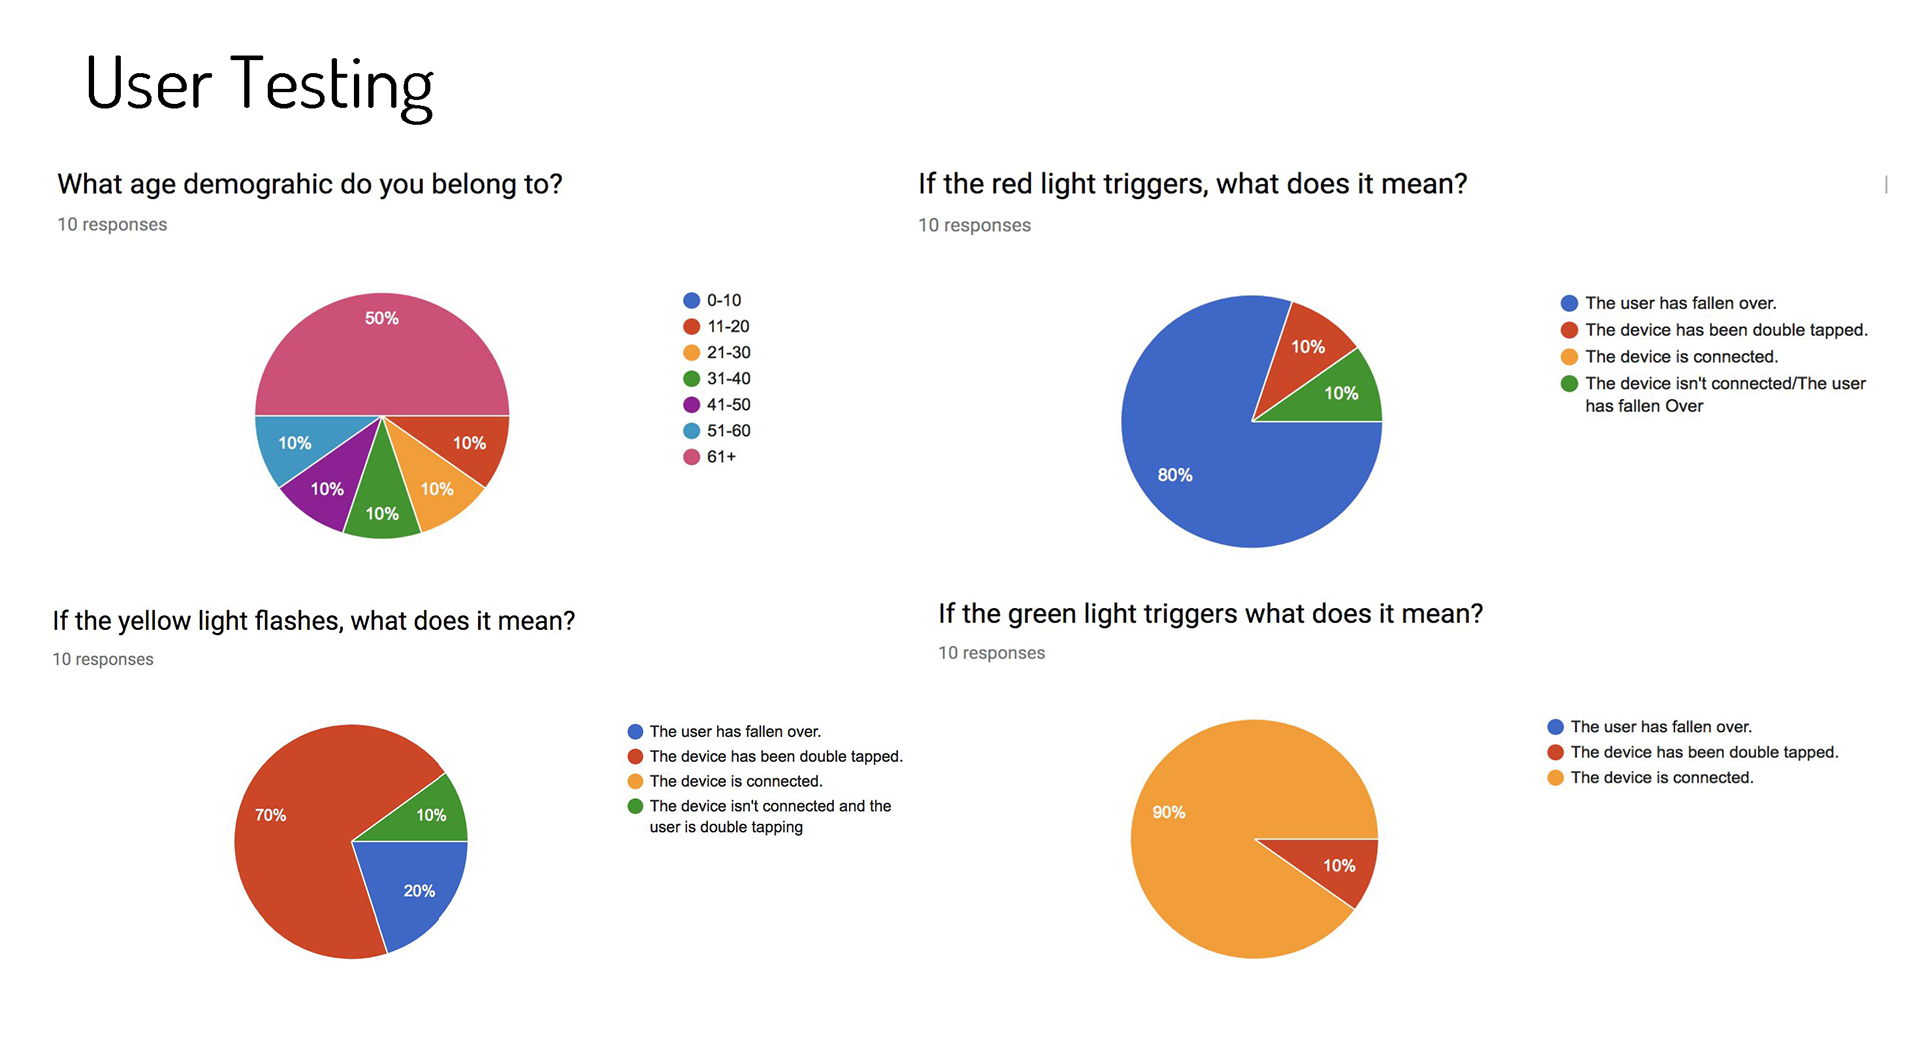
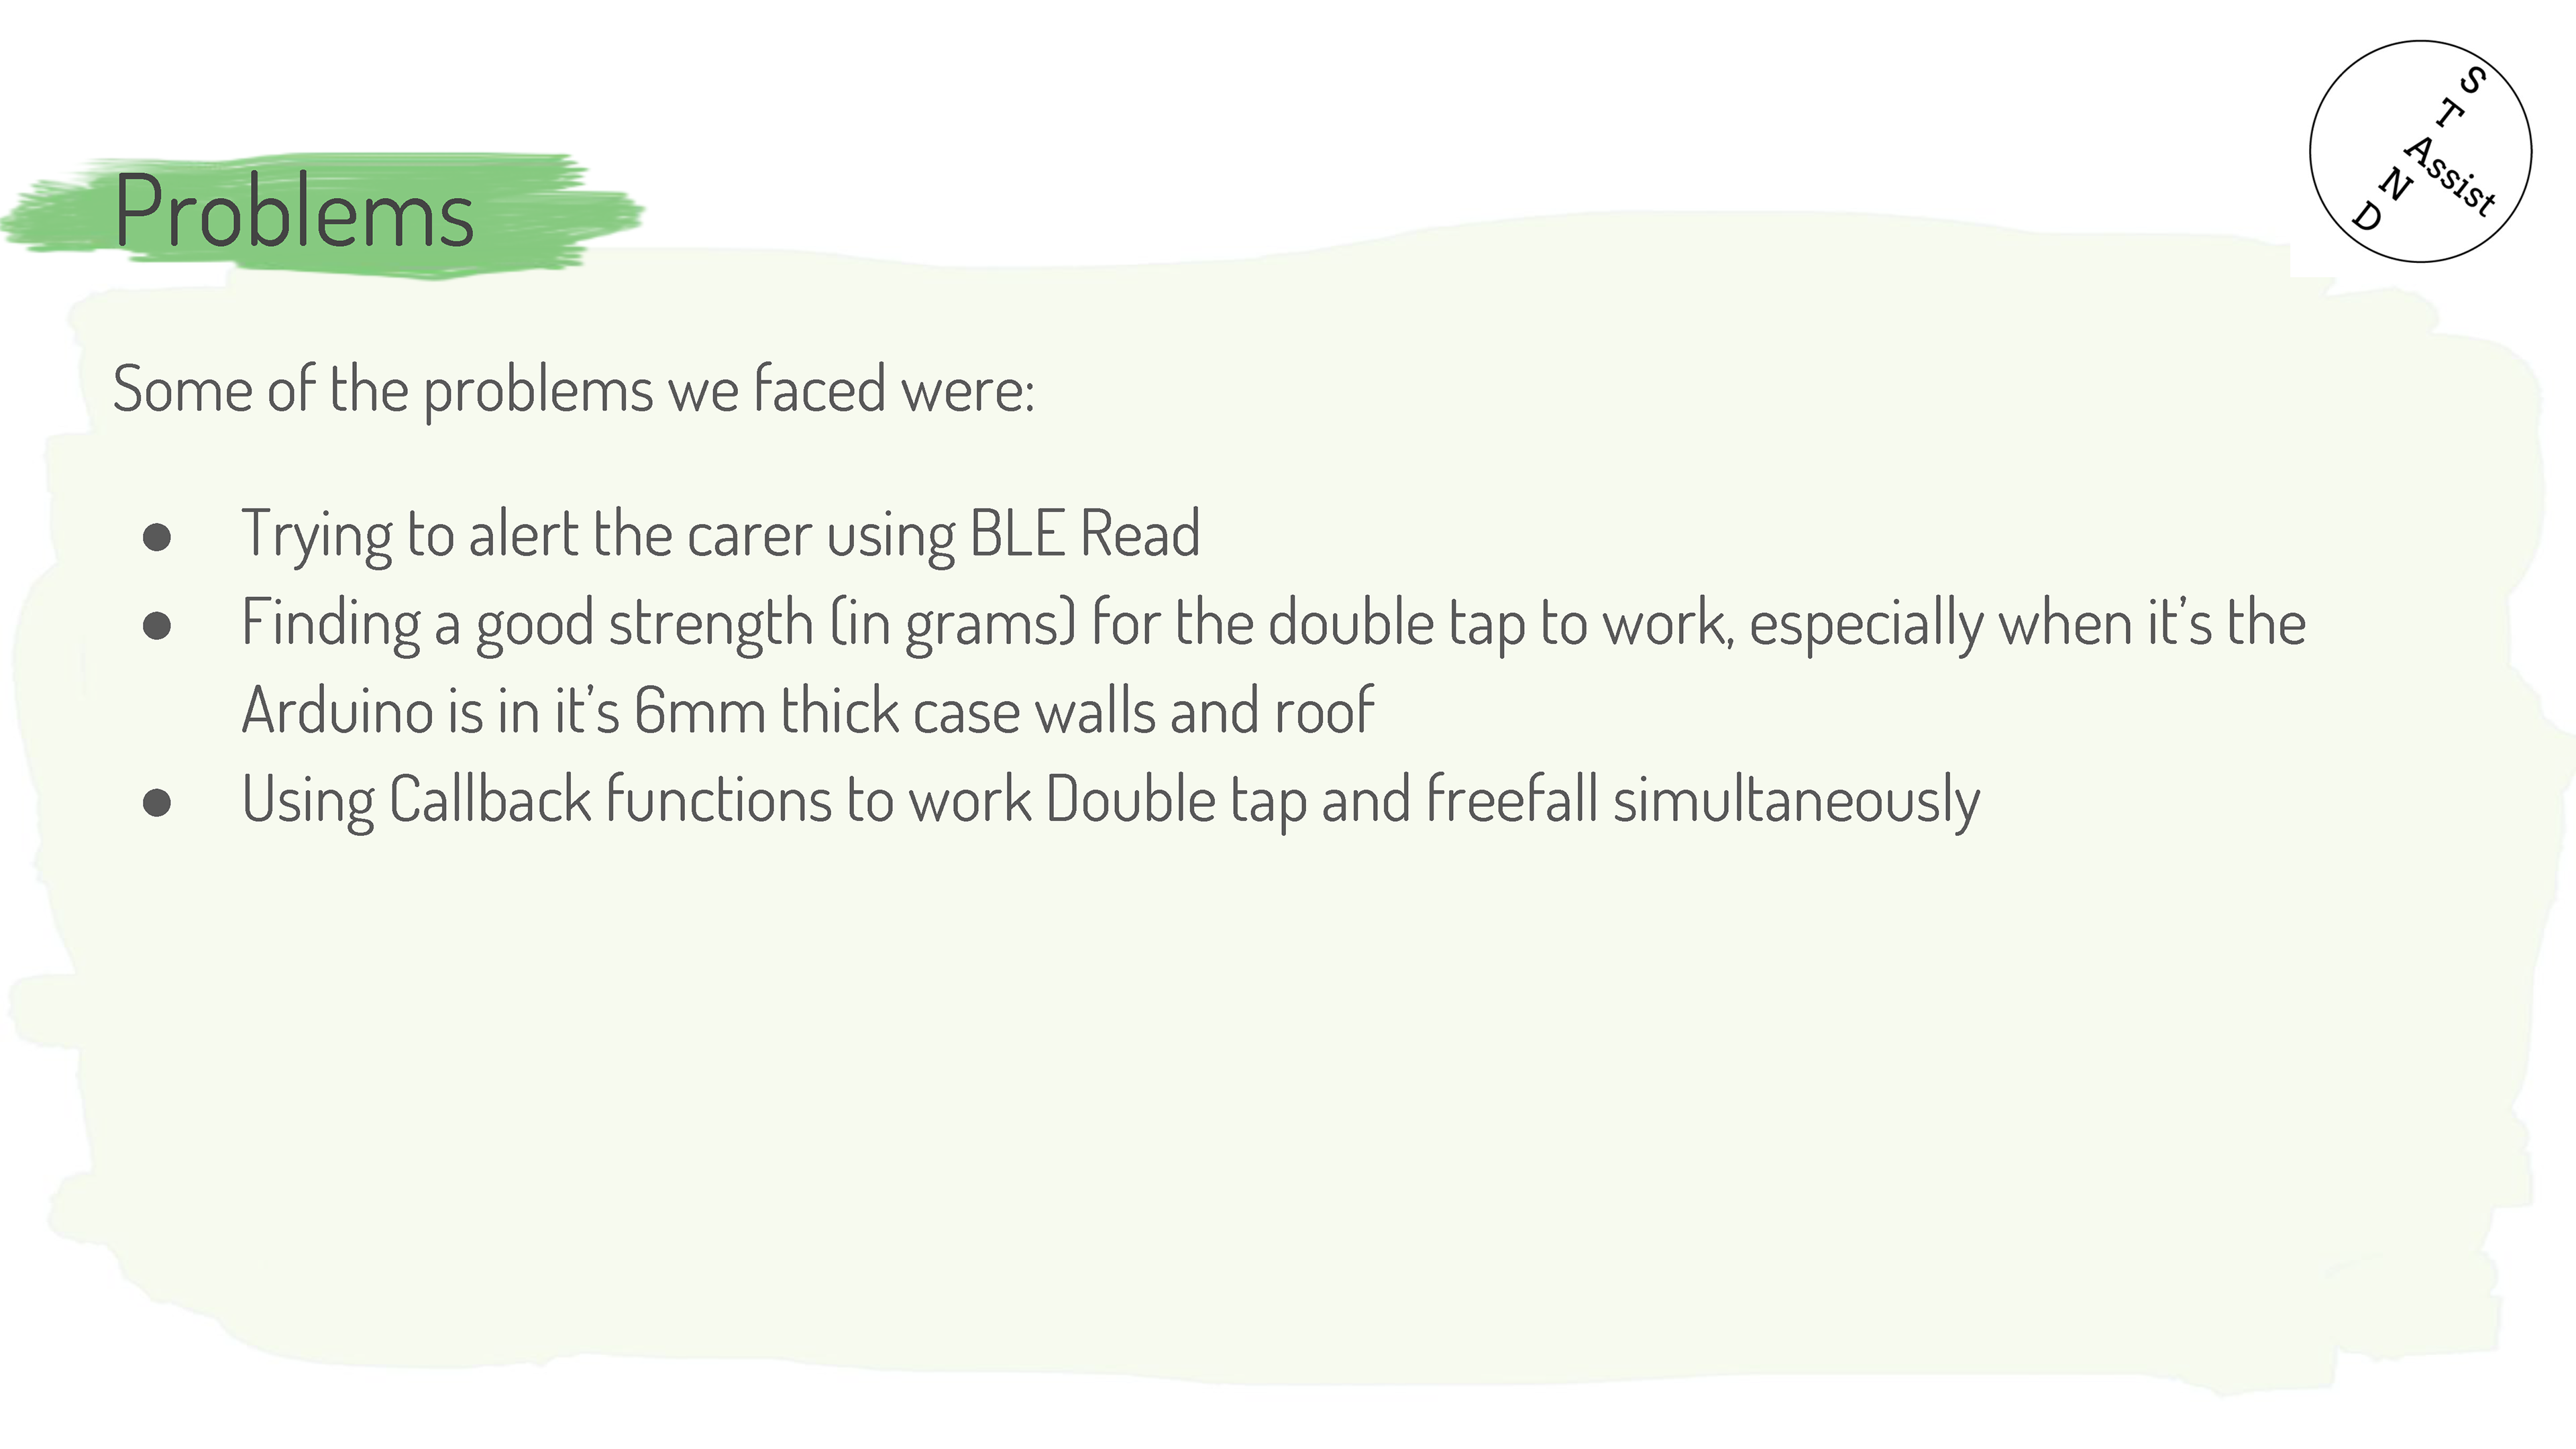
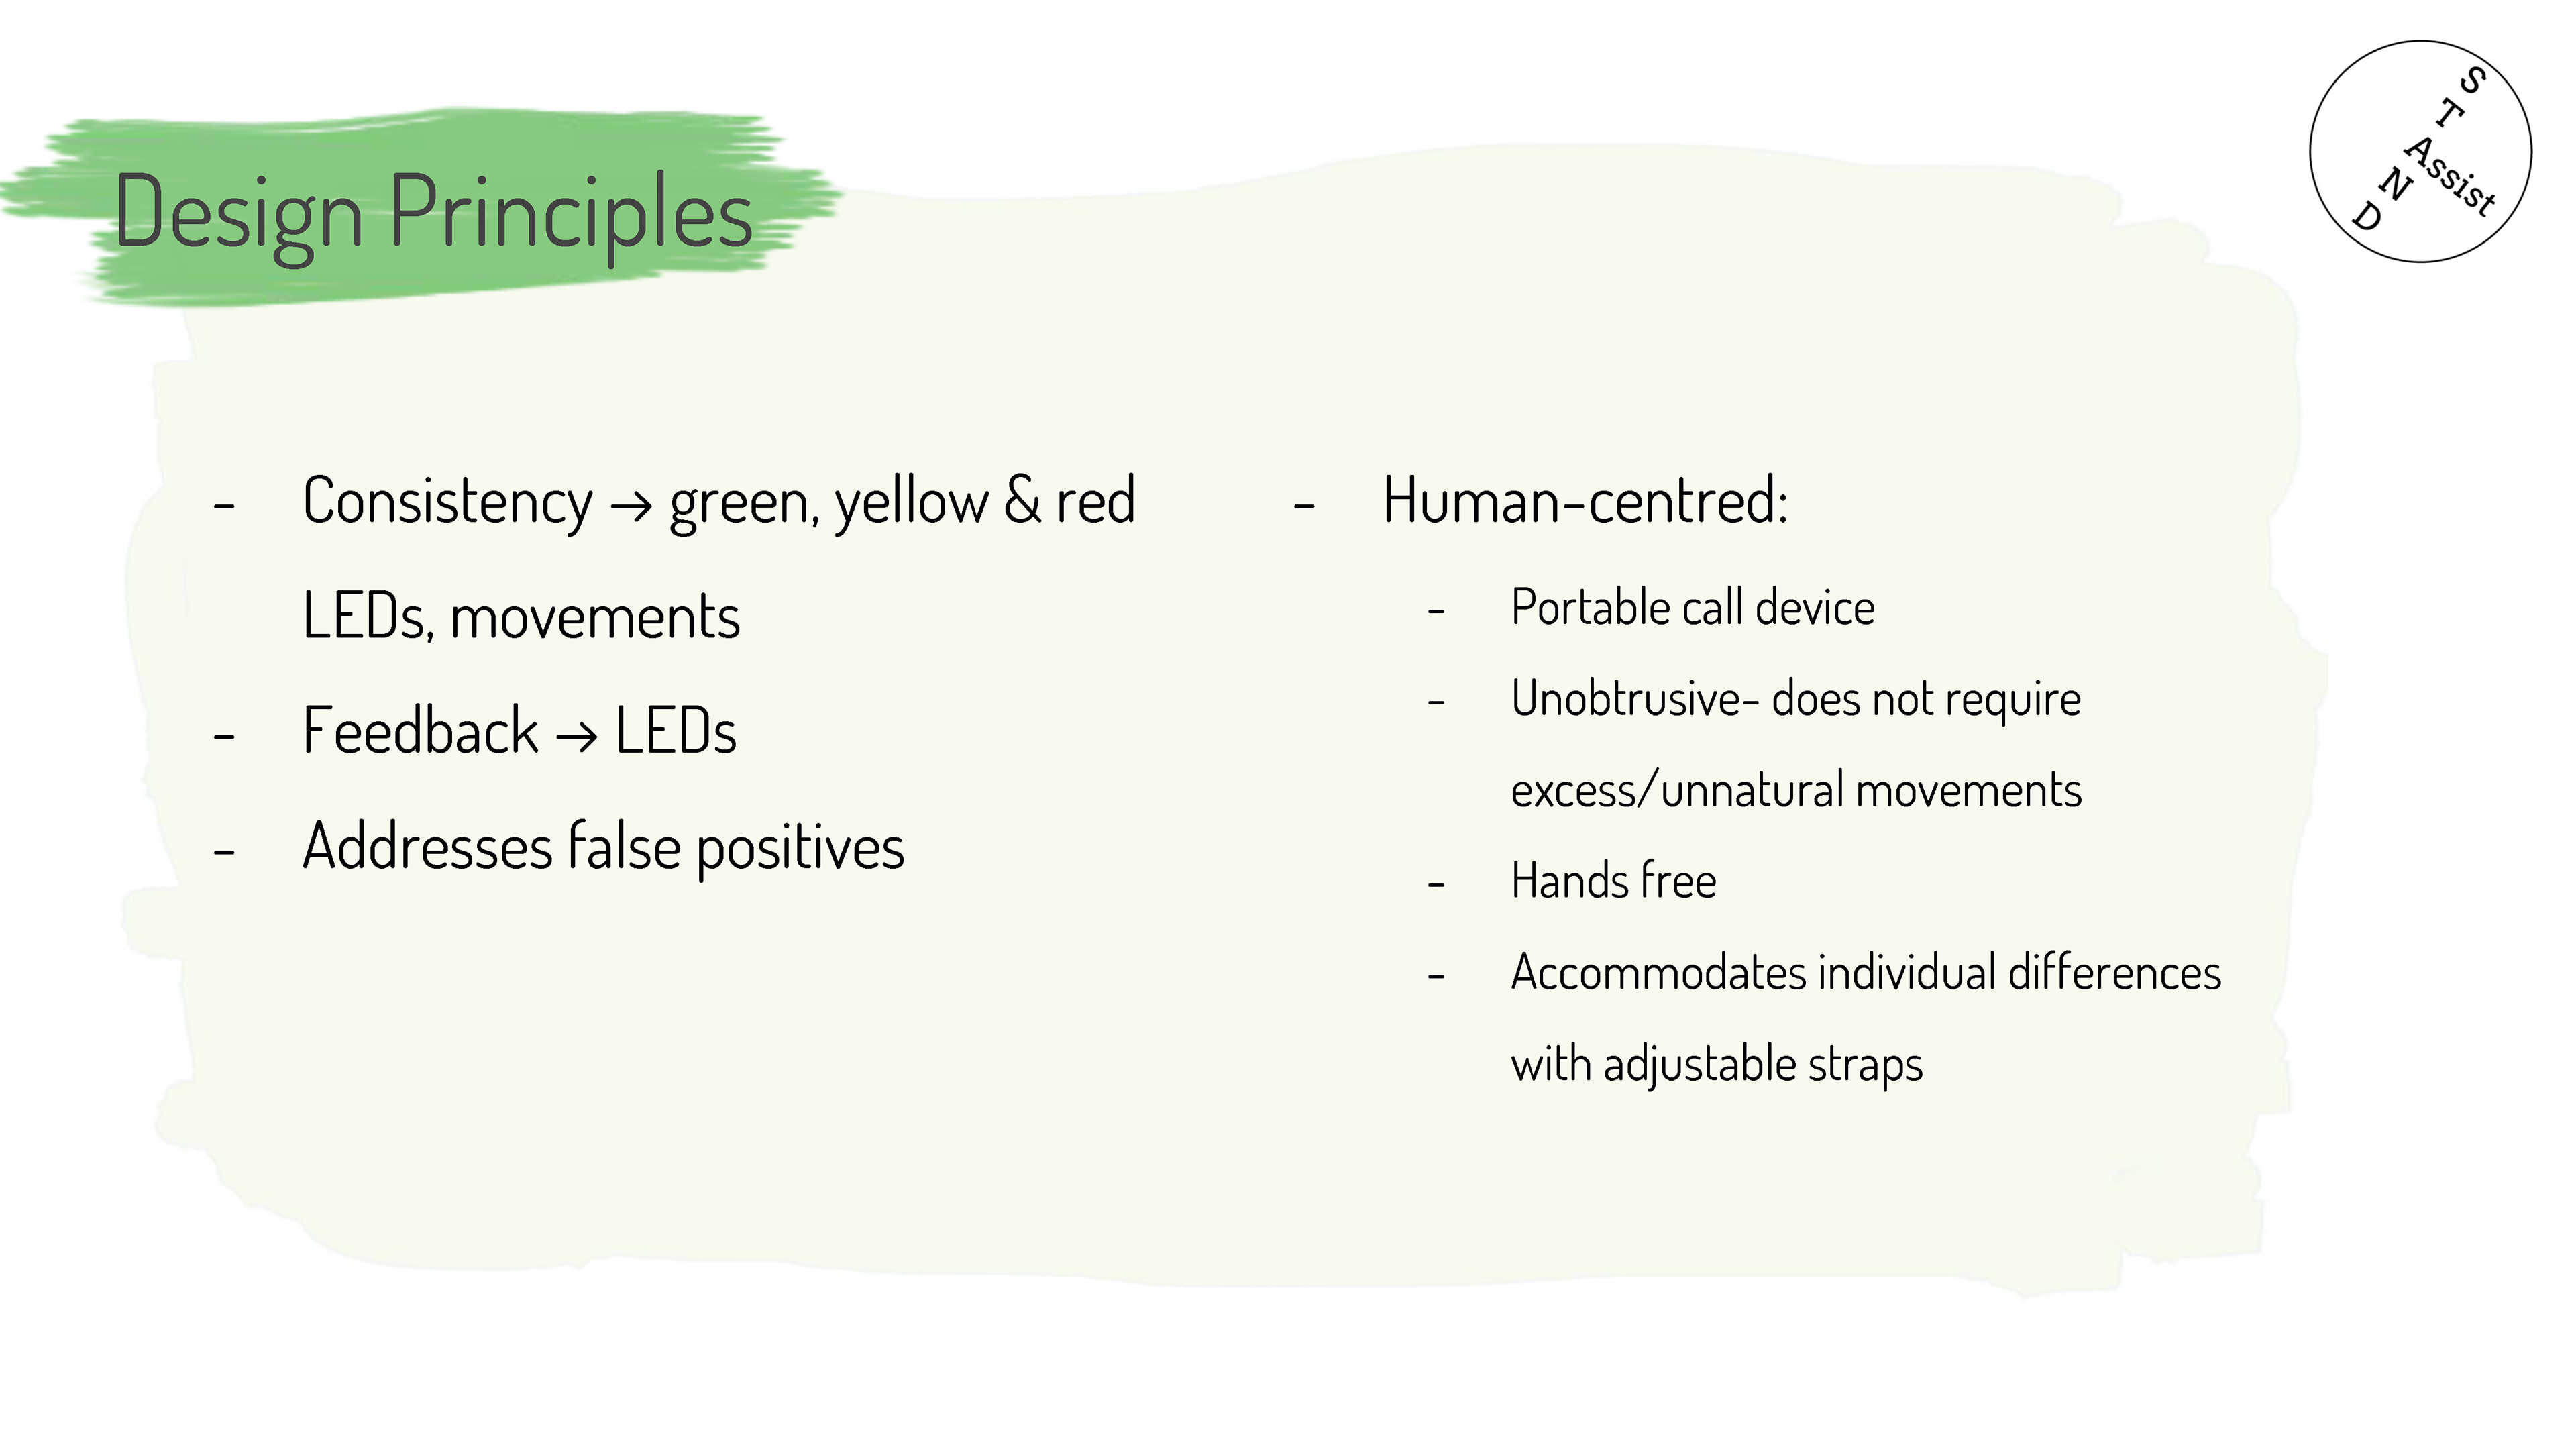
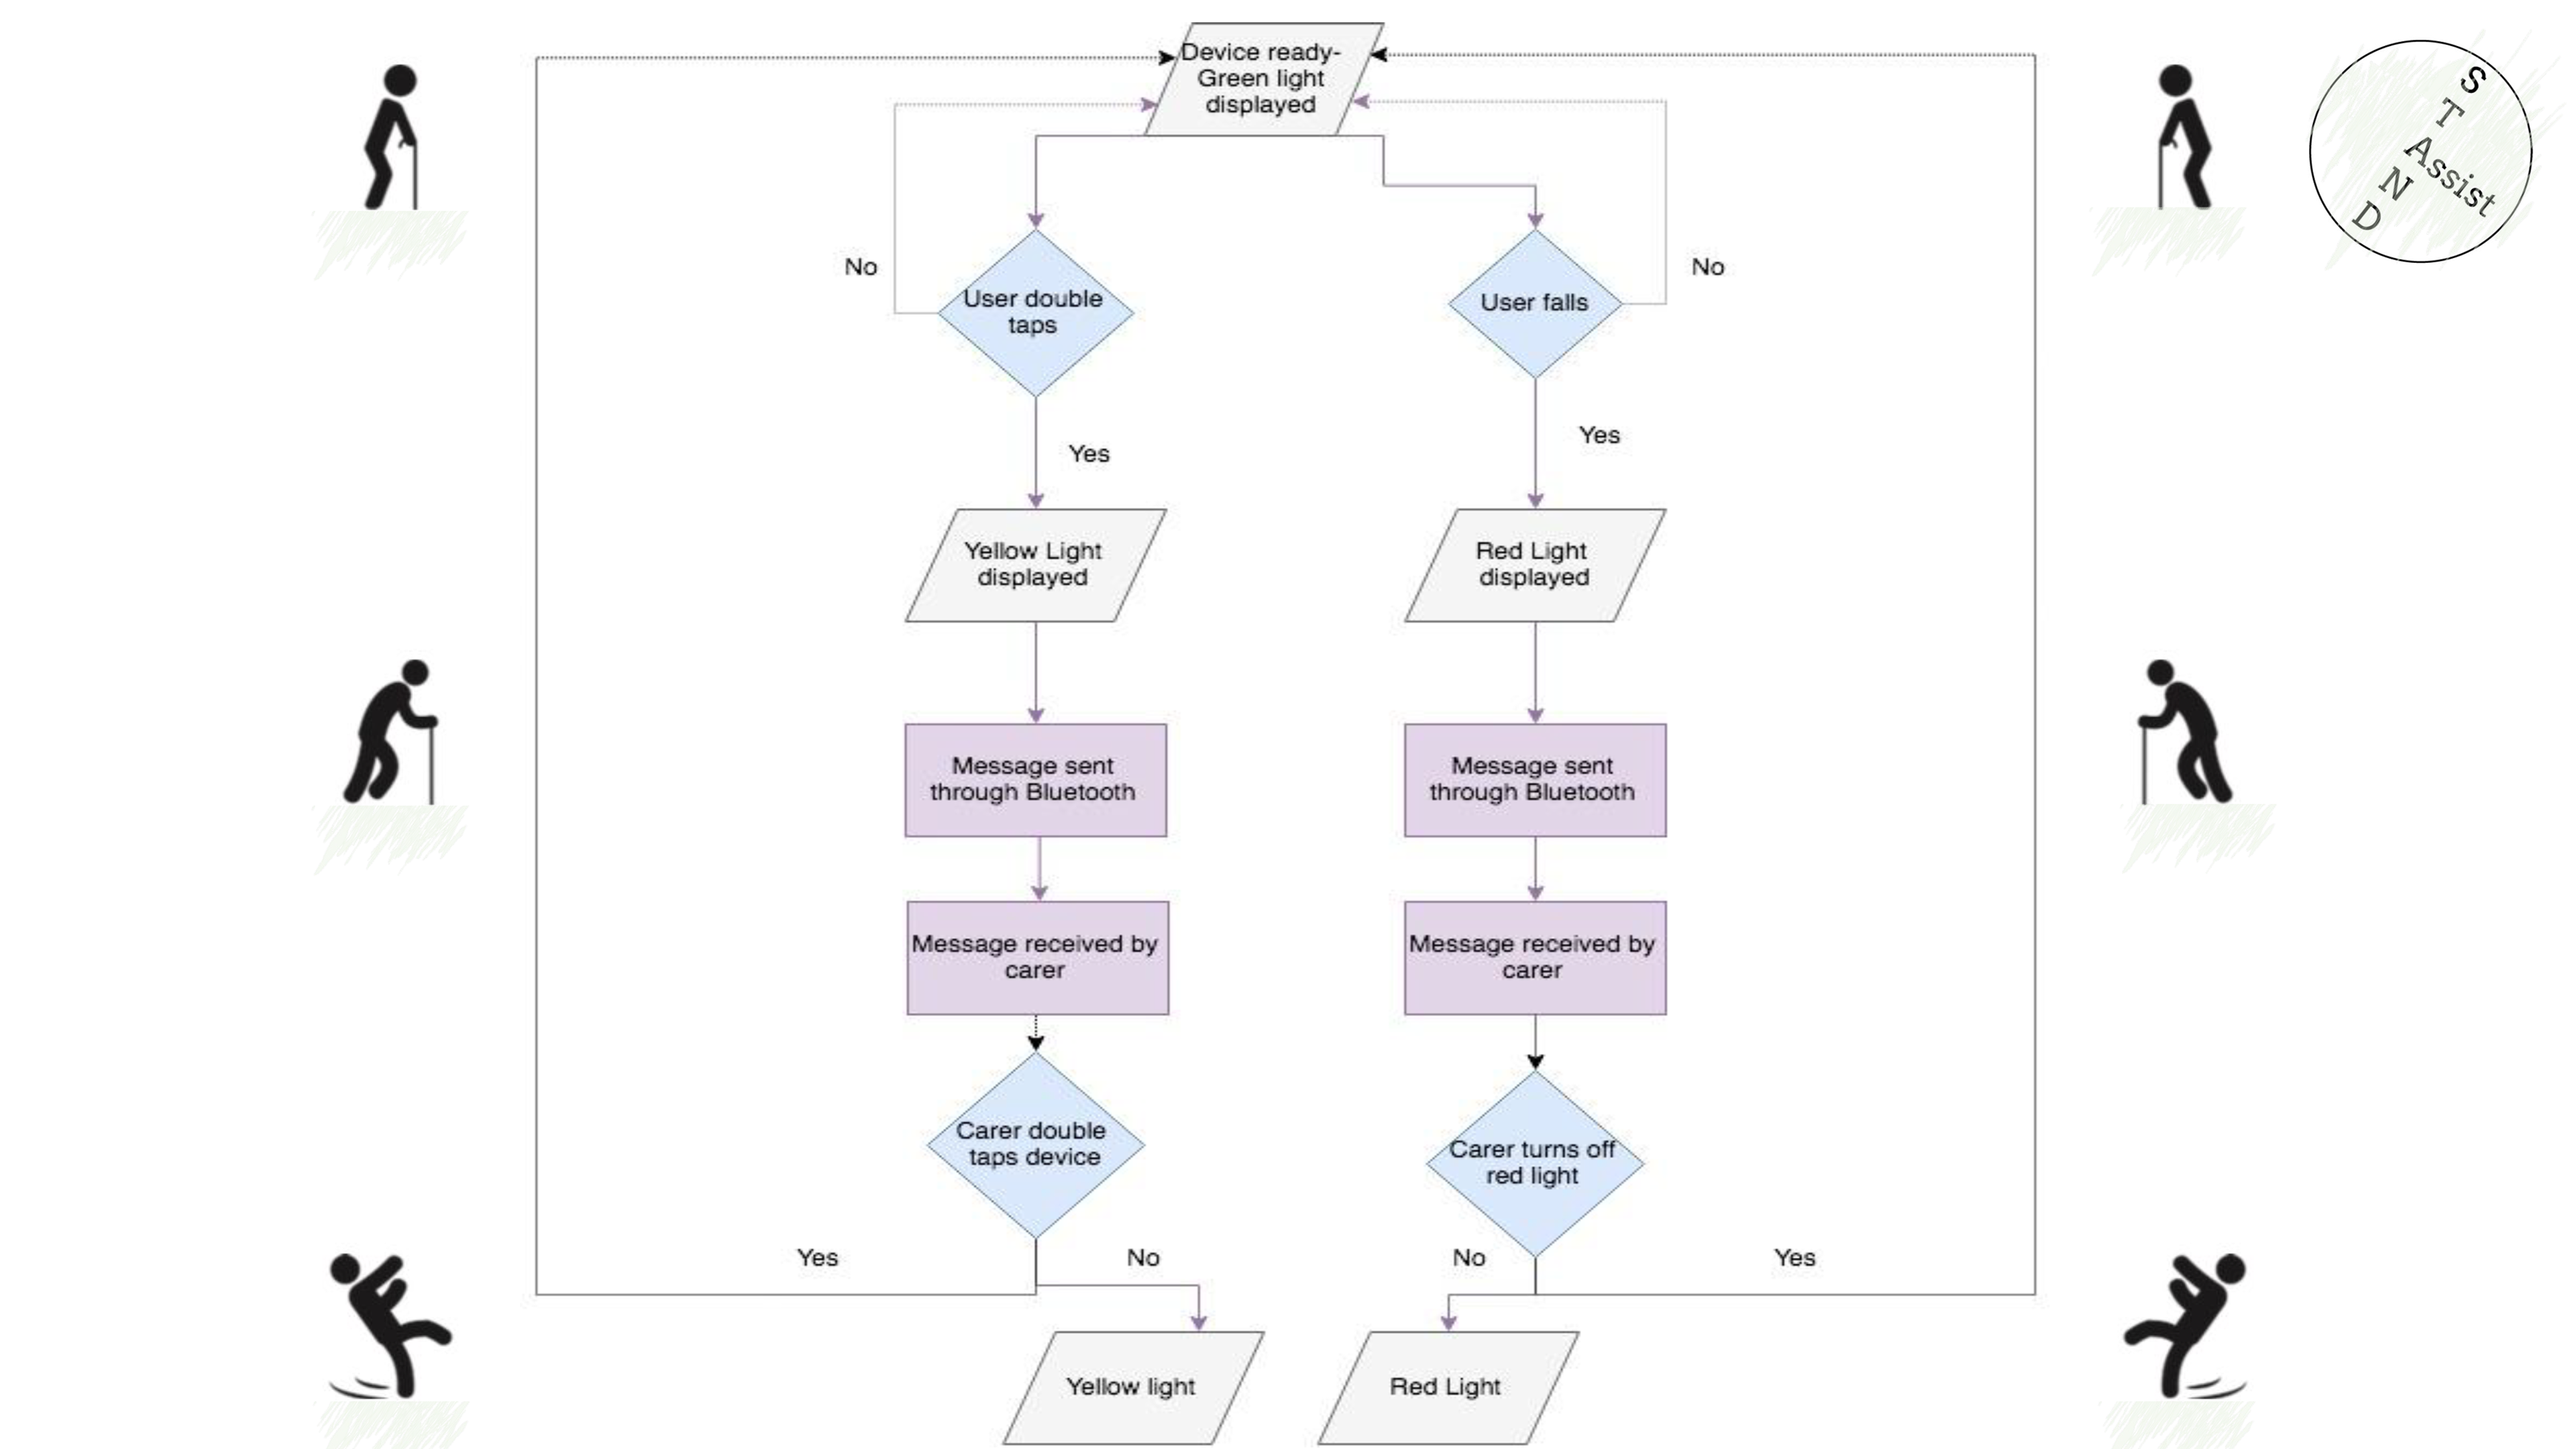
Following this feedback, we begun the construction of our high-fidelity protitype, based on the problems we faced on the earlier iteration. Here is the 3D printing of the device, and the laser cutting of the lid. After joining the two pieces, the Arduino Uno was programmed, and placed into the device.
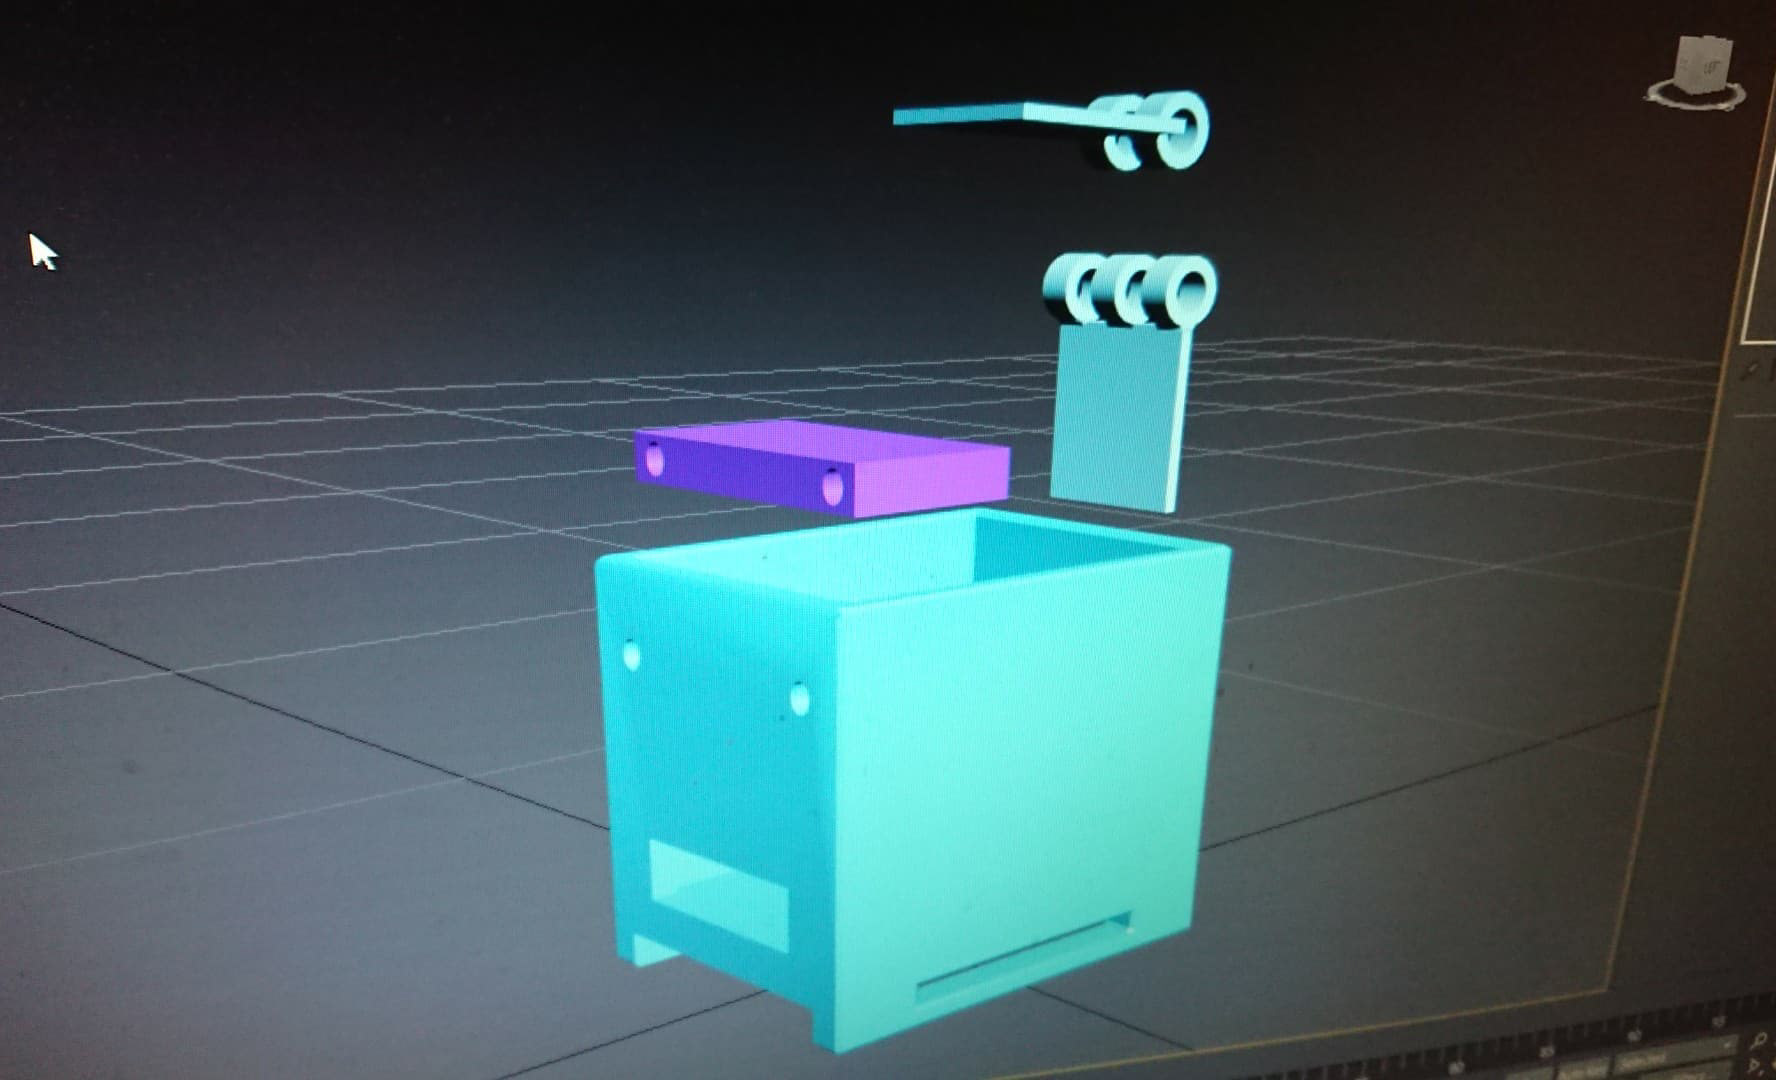
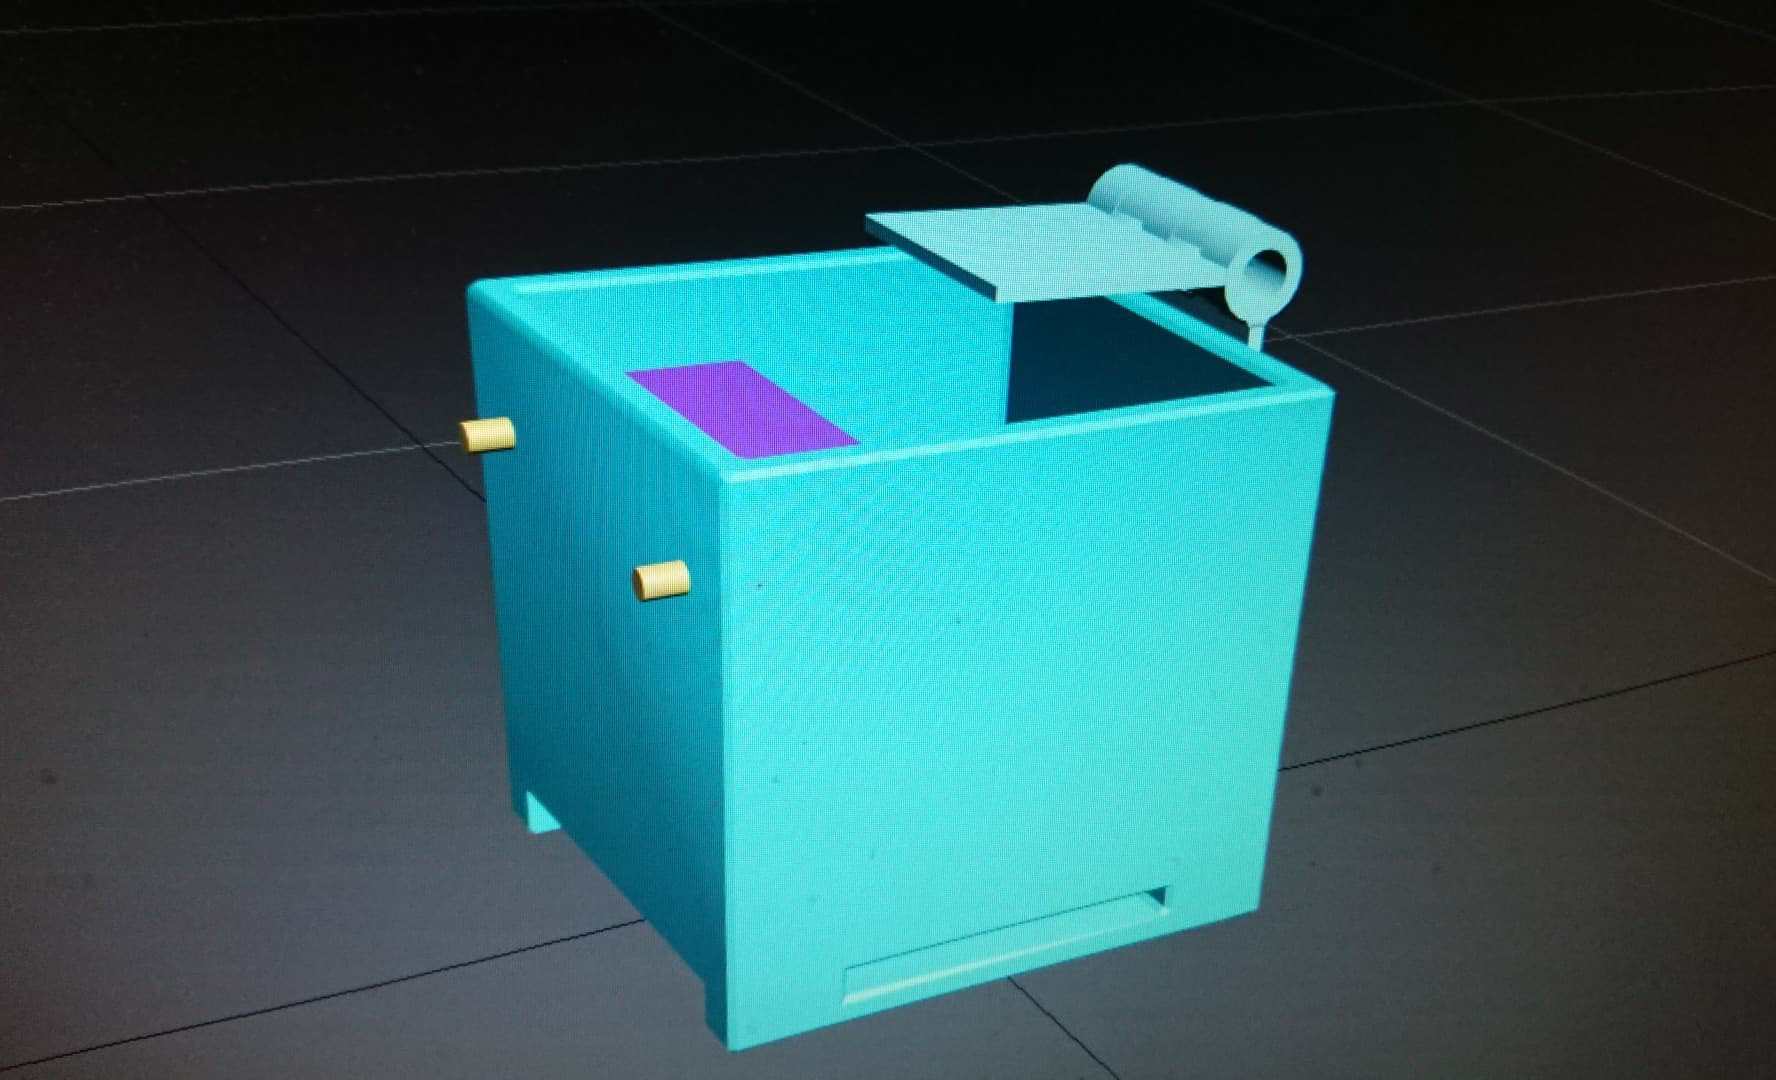


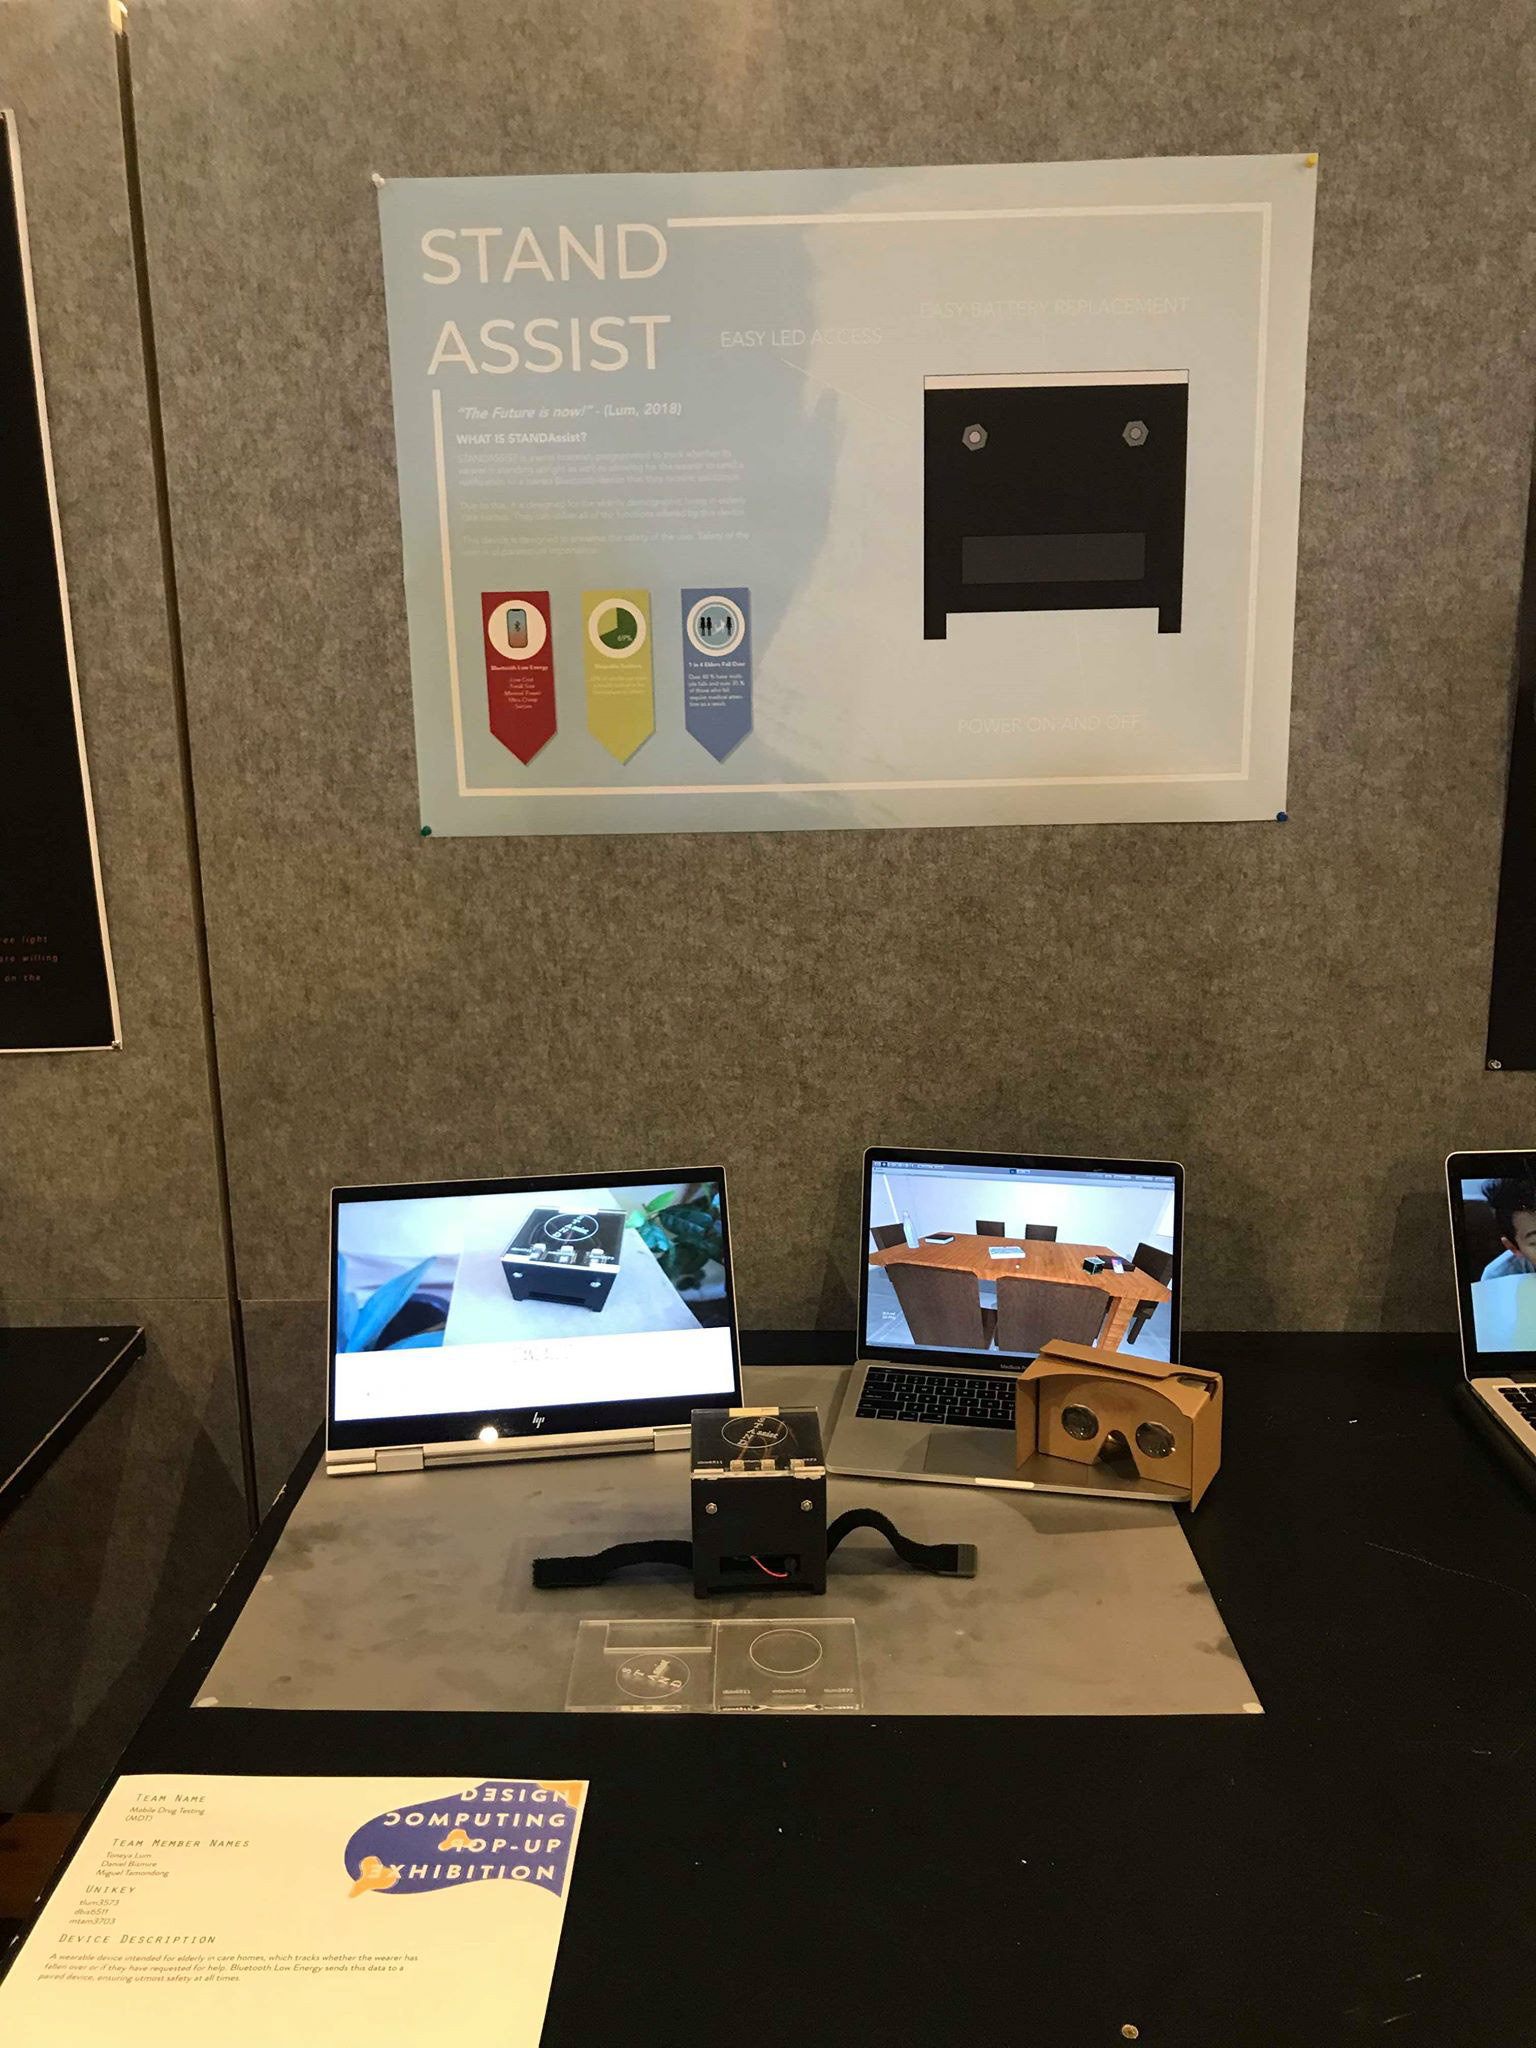
This design was exhibited in the Design Computing Pop-up exhibition, featuring our model, the video (featured above), and a 3D modelled environment (developed in Unity), where our device in context can be seen by using a VR headset such as a Google Cardboard.
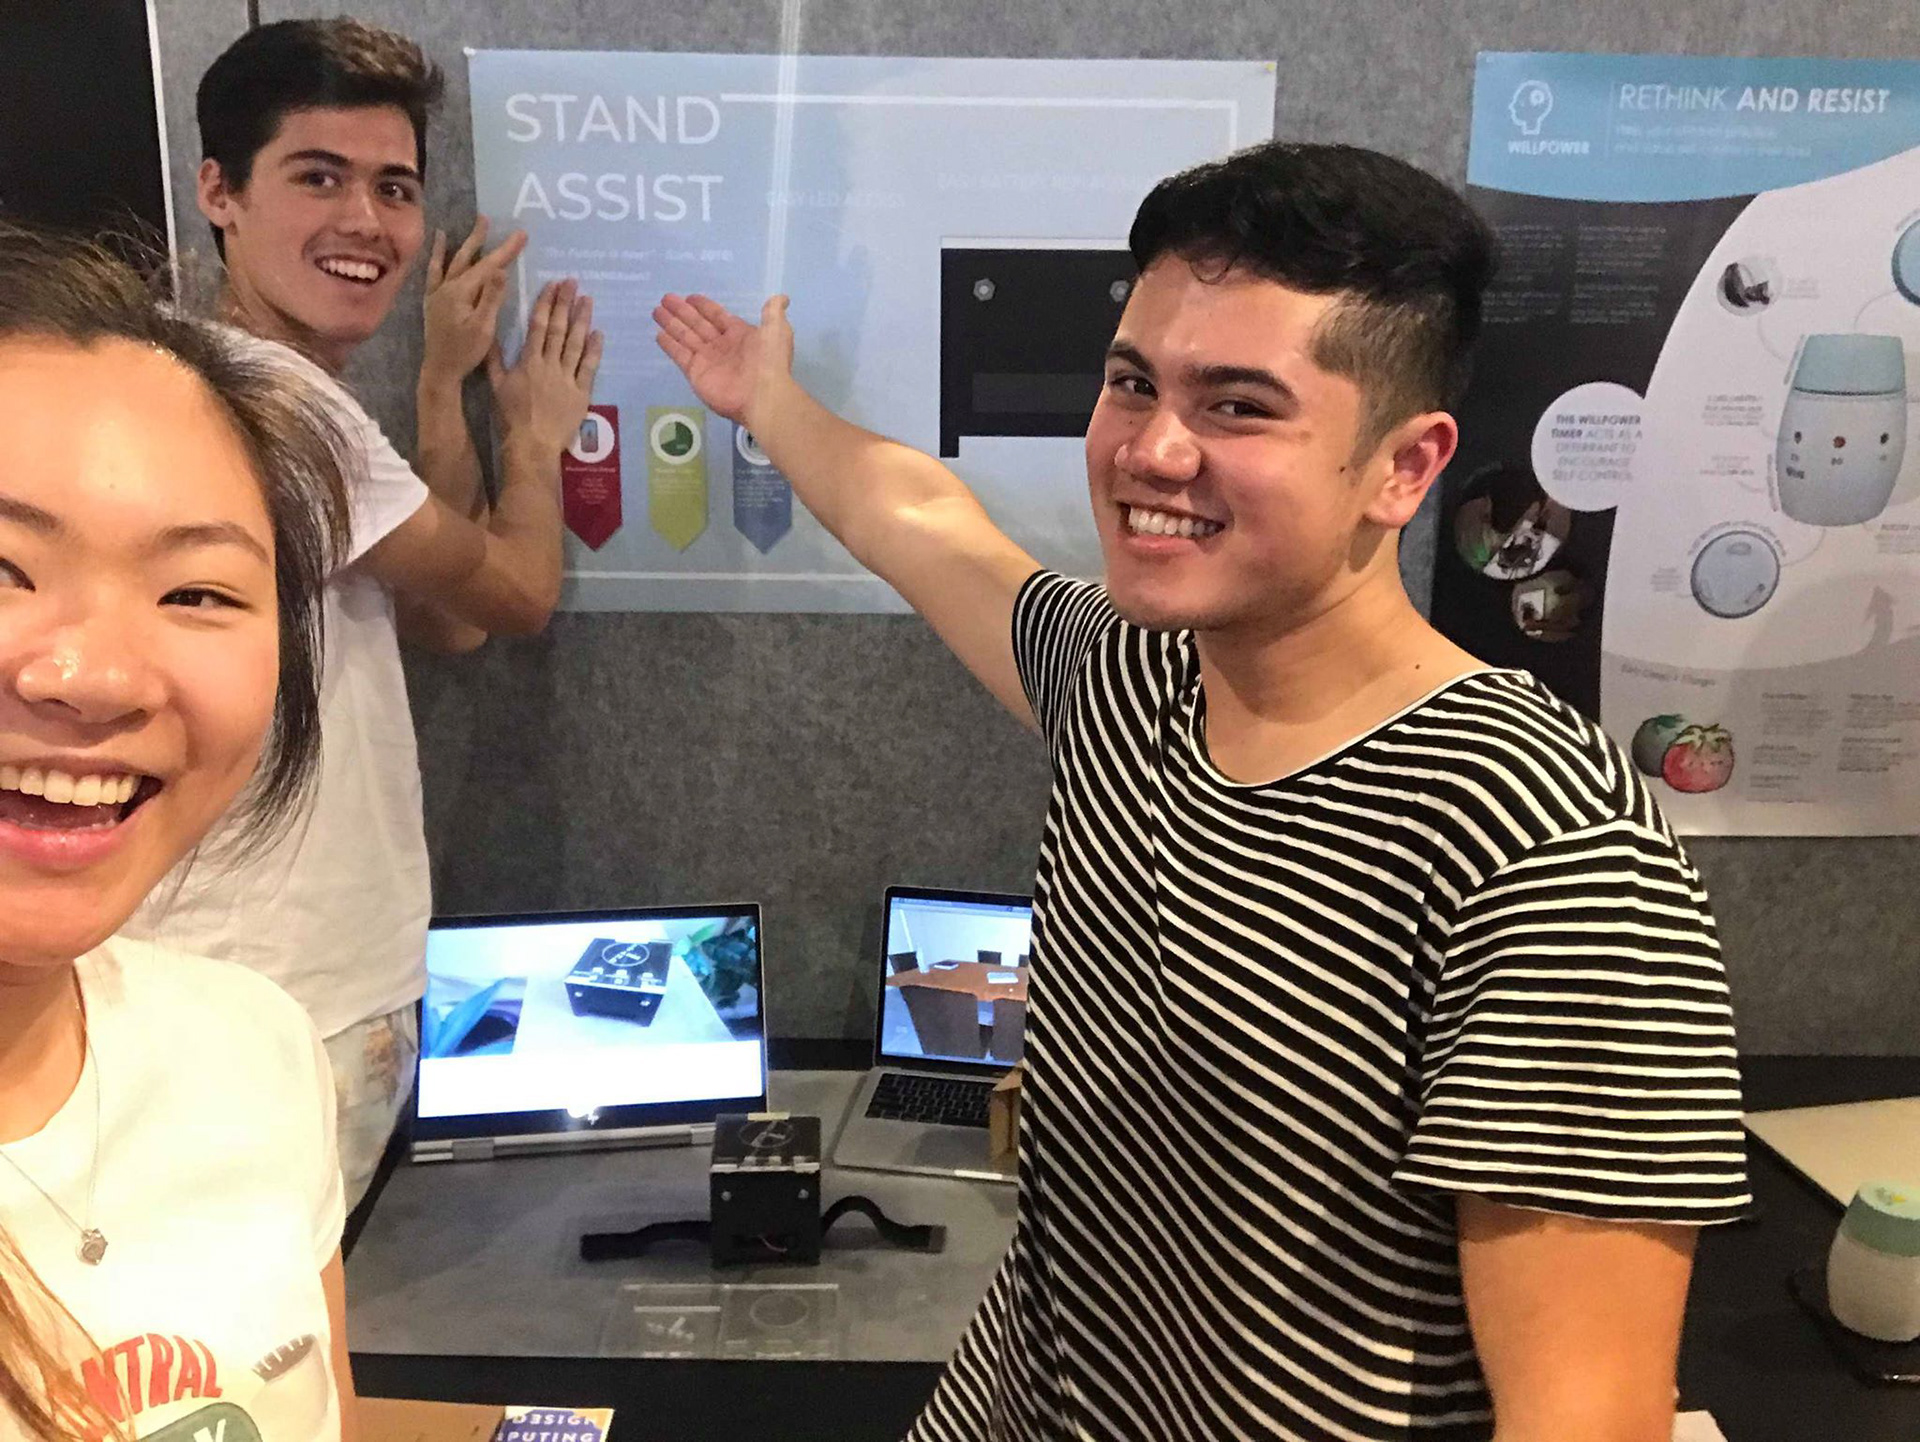
Toneya Lum, Daniel Bismire and myself. (pictured above).
